

For a strong start, buy the $500 car, establish power and food production, and reinforce your door and windows. Research vegetable planting and cooking on Day 1, then prepare three spike barriers at the door for the first zombie wave.
The opening days of Survival Log are all about preparation. Your starting cash disappears quickly, zombies arrive before you're truly comfortable, and wasting even a little time or energy can leave you scrambling when the first major attack begins.
The good news is that the early game becomes considerably more manageable with the right priorities. Instead of spending money on short-term comforts, you want to establish transportation, food production, reliable power, stronger defenses, and a few essential appliances as quickly as possible.
This guide walks through an efficient opening route, followed by the priorities that will help carry your shelter through the first two zombie waves.
Build Your Starting Budget
You begin with $1,000, but several easy sources of extra cash can push your total starting budget to $1,680.
There is $70 in the wallet on the table, a $500 small loan available to borrow, and your female neighbor at the discount supermarket can give you another $100. Returning the flowerpot is also worth $10.
That gives you:
$1,000 + $70 + $500 + $100 + $10 = $1,680
There is one important catch: you won't necessarily collect the neighbor's $100 immediately. Keep that in mind while shopping, because your actual cash on hand will temporarily be $100 lower than the full budget suggests.
Search Everywhere Before You Start Spending
Your first priority should be gathering anything the game gives you for free. Search every accessible location carefully for materials rather than assuming you'll be able to buy whatever you need later.
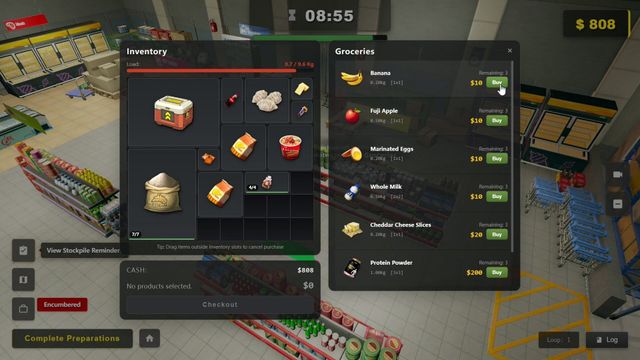
While you're making the rounds, buy six pieces of broken glass for $60.
That brings the theoretical budget down to $1,620.
The broken glass becomes particularly important once you begin building defenses, so don't treat it as disposable crafting junk.
Buy a Car Immediately
Next, head directly to the used car dealership and buy the $500 car.
It may feel aggressive to spend almost a third of your total opening budget on transportation, but the car makes the rest of this opening route much easier to manage and also gives you additional storage space for everything you're about to collect.
After buying it, you'll have $1,120 remaining.
Grab an Energy Drink
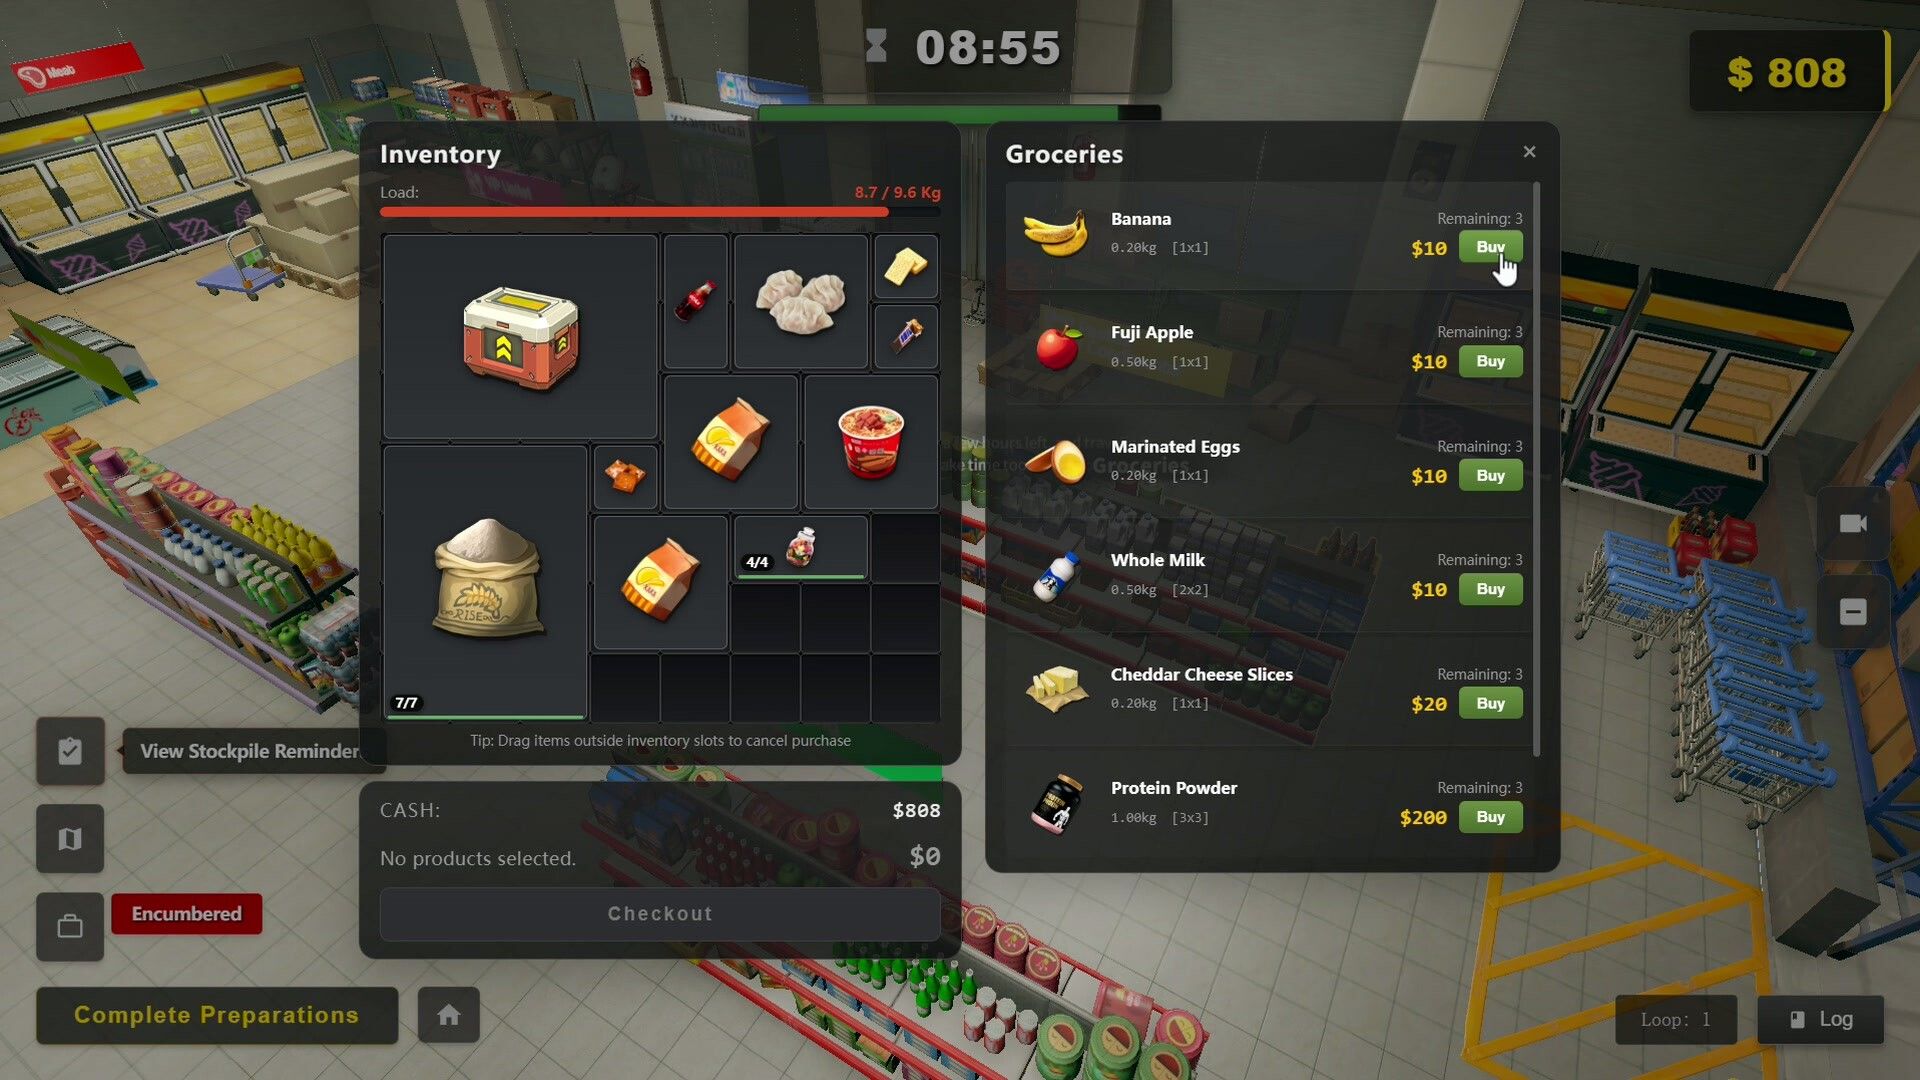
Your next stop is the tool shop, where you should buy an energy drink for $50.
That leaves $1,070.
The drink is particularly useful because the first night can be exploited for extra productivity. You can stay awake through the night and use energy drinks to keep yourself going rather than immediately giving up several valuable hours to sleep.
Turn Your House Into a Real Shelter
Now visit the renovation company. This is where the largest single shopping trip takes place.
Return the original small flowerpots through the purchase page, then buy the following:
- Solid wood bed - $80
- Air conditioner - $50
- Titanium alloy door - $100
- Bulletproof windows - $100
- Large solar panel - $80
- Small fuel generator - $50
- Home energy storage station - $100
- Microwave oven - $40
The total is $600, leaving $470.
While you're here, interact with the computer and sofa as well. Both can provide additional materials, and those free resources matter during an opening where virtually everything has a use.
This shopping list gives you the foundations of a sustainable shelter. The reinforced door and windows improve your defenses, while the solar panel, generator, and energy storage station establish your power setup. The air conditioner becomes important once severe weather begins, and the microwave provides an early option for food preparation.
Clear Space and Install the Essentials
Return home and start reorganizing.
Your large shelves will initially be obstructed, so dismantle the beanbag chair and the nearby pile of wood. You'll also need to dismantle your original bed before the solid wood replacement can be installed.
Prioritize installing the bed and microwave first. After that, install two additional purchases if time allows.
Then move your collected supplies - and anything you've stored in the car - into your cabinets. Good storage management is worth doing now, before attacks and survival tasks begin competing for your attention.
Get Food Production Running Early
Your next major destination is the farmers' market.
Buy a full-spectrum hydroponic station for $150, a large plant-light cultivation box for $100, and eight tomato seeds for $80.
That's another $330 spent.
On paper, your remaining budget is now $140. However, if you haven't yet visited the discount supermarket and collected the neighbor's $100, you'll actually be down to just $40 in available cash at this stage.
Eight tomato seeds are more than the absolute minimum, but the extra stock provides insurance against running short later.
Afterward, visit the community convenience store and collect any free materials available there.
Assemble Your Growing Equipment
Return home and assemble the hydroponic station and cultivation box first. These are central to your early food strategy, so don't leave them sitting in storage while working on less important furniture.
If you still have time, continue assembling the rest of your equipment.
The key timing point comes when the countdown reaches roughly 2 hours and 32 minutes remaining. At that point, head to the discount supermarket.
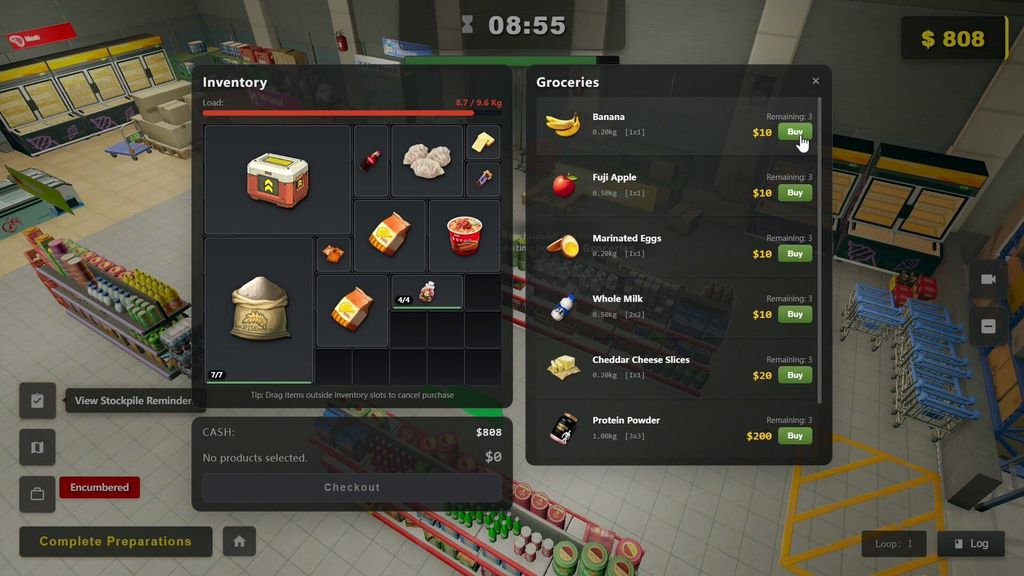
Take advantage of its free-purchase opportunity and speak to your neighbor to collect the additional $100.
Make the Most of the Final Shopping Window
From the discount supermarket, head back to the renovation company for another free purchase.
If an electric oven is still available, take it. If the oven has already sold out, grab another solar panel instead.
Then travel to the farmers' market and use its free-purchase opportunity as well.
Speed matters here. If you've handled the previous stops efficiently and still have around 33 minutes remaining after collecting your farmers' market items, you can squeeze in one final trip to the discount supermarket and grab additional supplies before the game automatically sends you home.
That concludes the stockpiling phase. From here, the focus shifts from shopping efficiently to surviving efficiently.
What to Do During the First Few Days
Research Farming and Cooking Immediately
Start researching vegetable planting and cooking on Day 1.
Doing so puts your progression on an efficient schedule: you can begin growing vegetables on Day 2 and start cooking on Day 3.
Food sustainability is one of the most important early-game problems to solve, so delaying these research options only makes the following days harder.
Don't Be Afraid to Stay Awake on Night One
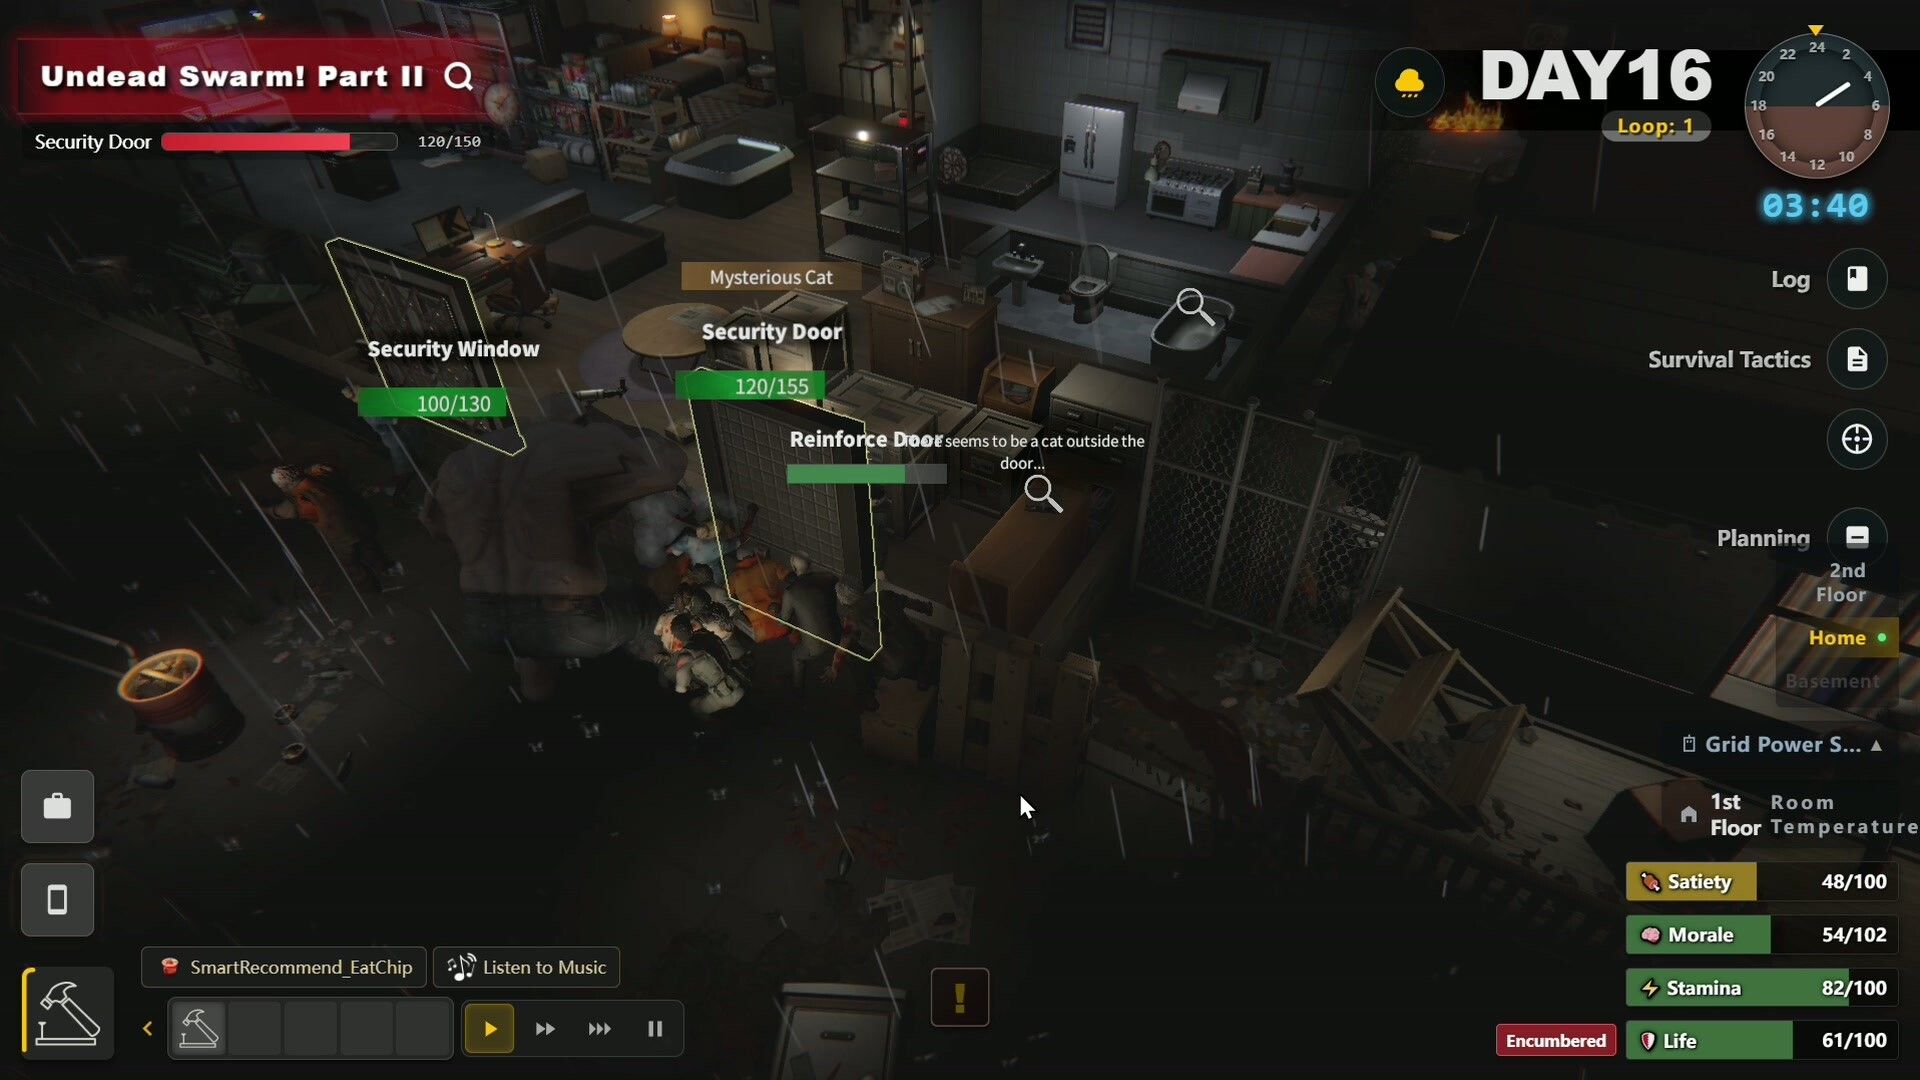
You can remain awake throughout the first night and use your energy drink to compensate.
Those extra hours are extremely valuable during the opening because you have furniture to install, equipment to assemble, research to manage, and defenses to prepare. Once your shelter becomes more established, you can afford to operate at a less frantic pace.
Save Your Survival Points
Avoid spending survival points during the first few days.
Instead, accumulate 200 points before using them. Saved survival points generate 5% interest, so immediately spending every point you receive sacrifices free long-term growth.
Unless you urgently need something for survival, patience pays.
Prepare Three Spike Barriers for the First Zombie Wave
Whenever you have spare time, use the workbench to craft three spike barriers.
Place all three in front of the door.
This setup should give you enough additional protection to survive the first zombie wave without investing excessive early resources into defenses.
Once the attack is over, you'll gain more freedom to leave the shelter and explore.
That said, don't feel obligated to rush outside. The initial exploration area doesn't offer much of value and can easily become a poor trade once you consider the energy required to search it.
Reinforce the Window Before Wave Two
The second zombie wave calls for additional preparation.
Craft another three spike barriers and place them in front of the window.
If you still have enough broken glass available after securing the doorway, consider putting another three spike barriers at the door as well. That extra layer of protection can prevent unnecessary damage.
If you're short on glass, don't burn through your remaining stock just to complete the setup. Instead, be ready to repair the door as soon as it breaks.
Complete Neighbor Tasks the Same Day
Try to finish your neighbor's daily tasks on the day they're assigned.
Early-game schedules are already tight, and allowing these jobs to pile up can interfere with farming, crafting, research, and defensive preparation later. Treat them as part of your normal daily routine rather than optional errands to clear eventually.
Watch the Weather
Finally, pay attention to incoming cold waves.
You bought the air conditioner early for a reason: turn it on when a cold wave arrives.
It's easy to become so focused on zombies that environmental threats get overlooked, but surviving Survival Log means managing more than barricades. Power, temperature, food, energy, and time all need to work together.
The Early-Game Priorities That Matter Most
The strongest opening in Survival Log isn't built around hoarding cash. It's built around converting your limited starting resources into systems that keep paying off.
Get the car early. Establish renewable power. Upgrade your door and windows. Start hydroponic farming as soon as possible. Research cooking before you desperately need it. Save survival points until their interest begins working in your favor, and use spike barriers to absorb the pressure of the first zombie attacks.
Most importantly, don't waste the opening stockpiling phase. Free materials, free purchases, and carefully timed store visits give you access to far more equipment than your starting budget would normally allow.
Handle those first few days efficiently, and by the time Survival Log begins turning up the pressure, you won't just be reacting to each new crisis - you'll already have a shelter capable of surviving it.