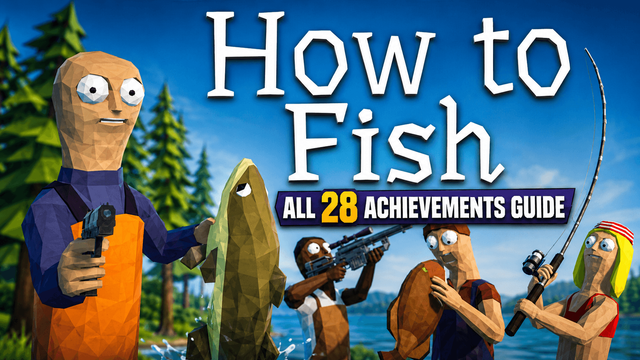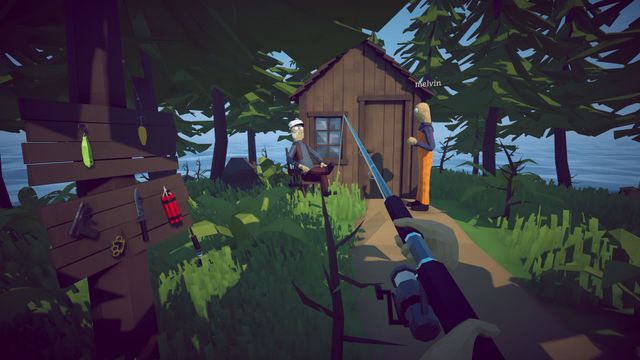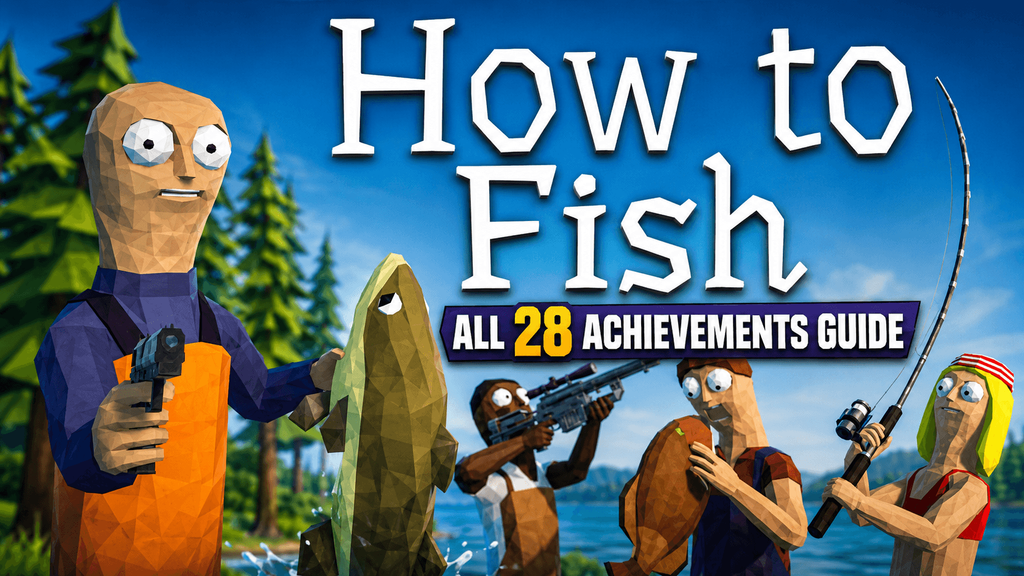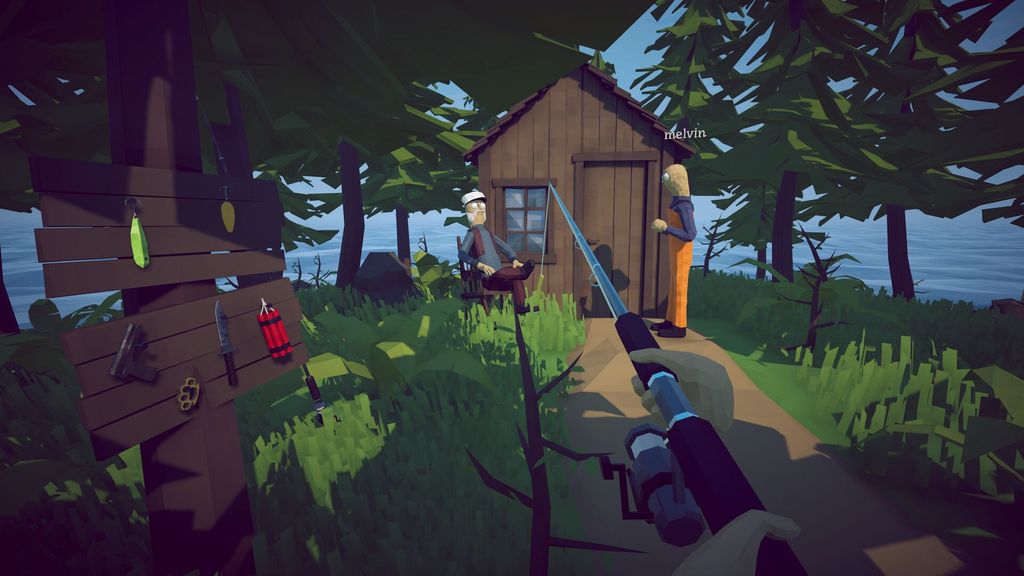

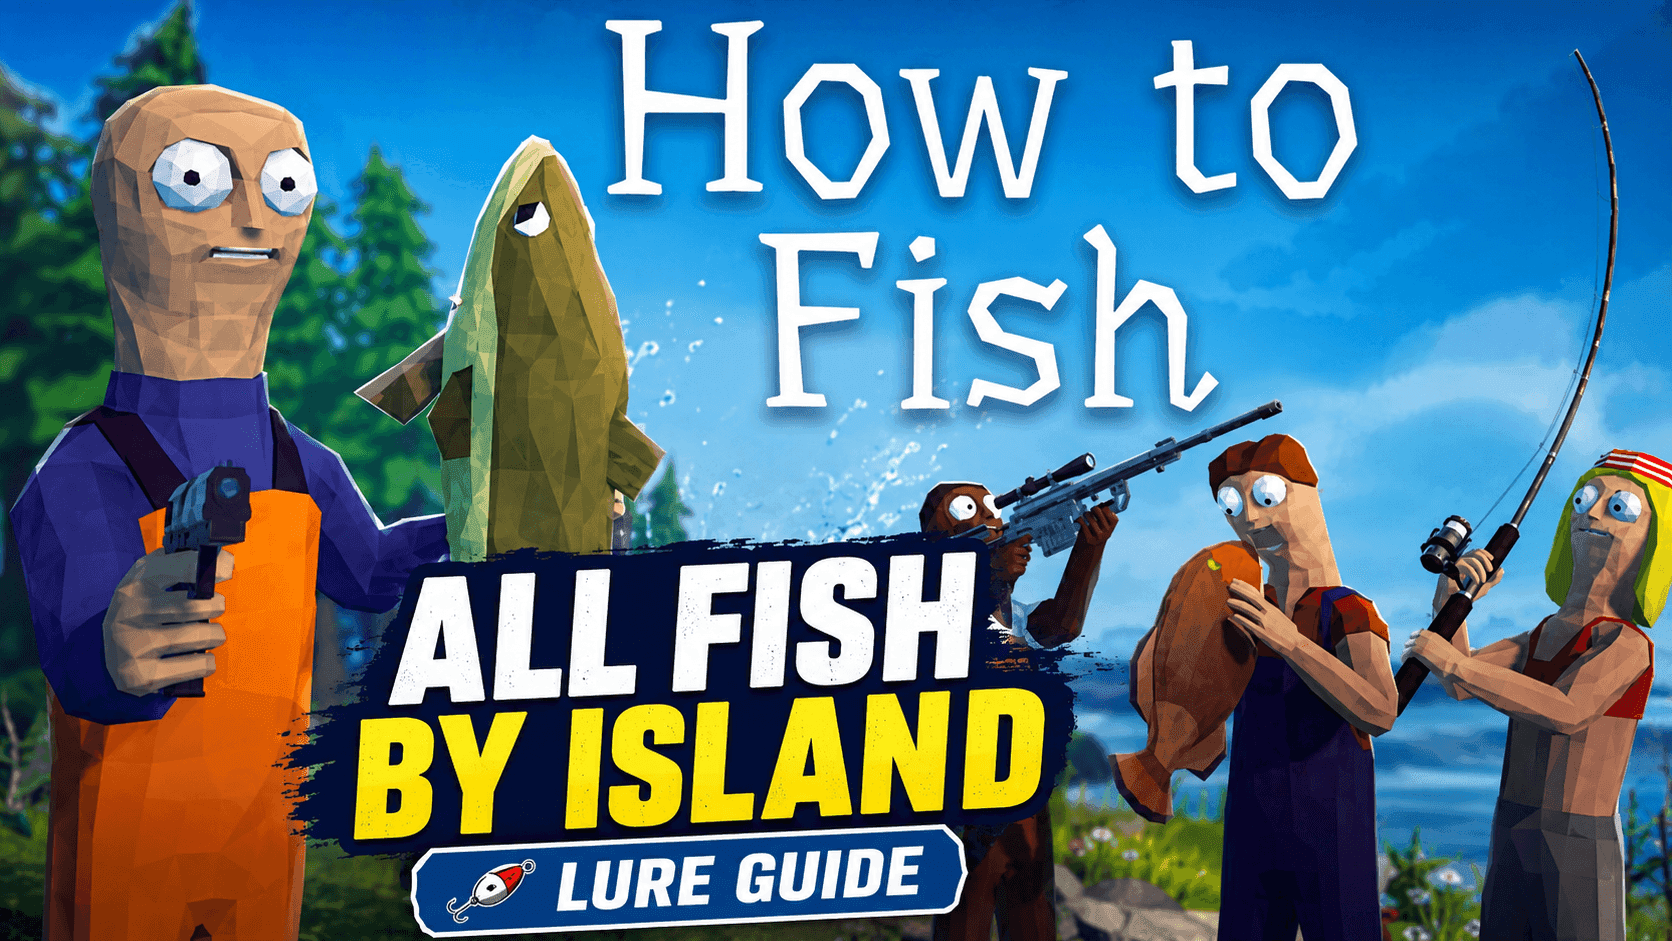
If you've reached a new island in How to Fish and are wondering which lure is actually worth throwing into the water, you're not alone.
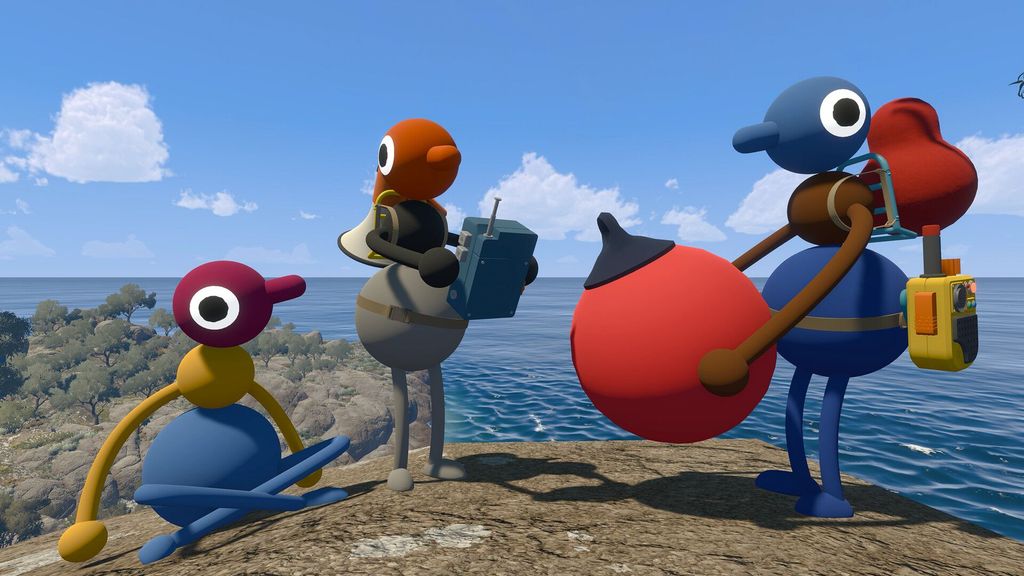
Dazed Games' wonderfully unhinged fishing game starts with crabs and shrimp before escalating into sharks, giant piranhas, airborne predators and, eventually, a whale-related experiment that probably wouldn't pass an ethics review.
Underneath the chaos, though, the collection system is surprisingly structured.
How to Fish has 49 normal creature entries for the Collector achievement, spread across five main areas: the Lighthouse, Forest, Desert, Rocks and Volcano. The separate Drip variants count toward Fishipedia instead, so catching a shiny-looking Drip version doesn't replace the normal creature entry you still need.
The game itself launched on Steam on August 20, 2026, with progression built around catching and selling fish, buying better equipment, completing quests and defeating bosses to reach new islands.
So rather than sorting everything into one enormous lure table, here's the useful version:
every fish, every lure and every special catch - island by island.
Lighthouse / Starting Island - Fish, Bait and Creatures
Your first stop is the Lighthouse island, and it's also where How to Fish immediately teaches an important lesson: not everything in the Fishipedia is technically a fish.
There are seven Collector entries associated with the opening area.
Lighthouse creature list
- Clam - no lure required; pick it up from the ground
- Brown Crab - Crab Fishing Rod / starting pool
- Blue Crab - Crab Fishing Rod / Lighthouse pool
- Rock Crab - Crab Fishing Rod + Free Lure or Hot Dog
- Shrimp - Crab Fishing Rod + Free Lure
- Lobster - Crab Fishing Rod + Hot Dog
- Spider Crab - Empty Beer Can, story boss
Best bait to use on the Lighthouse
If you're cleaning up the first island, your two important normal baits are:
- Free Lure for Rock Crab and Shrimp
- Hot Dog for Rock Crab and Lobster
Brown Crab and Blue Crab belong to the early Crab Fishing Rod pool, so don't assume that catching one crab means you've completed all of the crab entries.
Don't miss the Clam
The Clam is one of the easiest entries to overlook because you don't actually catch it with a rod.
It's a ground creature that can simply be picked up in the opening area. If you're much later in the game and inexplicably sitting at 48/49 creatures, this should be one of the first entries you check.
Lighthouse boss: Spider Crab
The Spider Crab does not belong to the normal fishing pool.
To trigger it, you need the Empty Beer Can from the Lighthouse Keeper's quest chain. Defeating the Spider Crab and completing the associated hand-in eventually leads to the Boat Keys, opening the game's wider island progression.
Island 1 checklist: Clam, Brown Crab, Blue Crab, Rock Crab, Shrimp, Lobster, Spider Crab.
Island 2 / Forest - Beginner Lure Fish
Once the boat opens up, the Forest is where How to Fish starts behaving more like a traditional lure progression system.
Island 2 contains 11 Collector creatures, including normal catches, two creatures from the Beginner Boss Lure and the Giant Piranha story boss.
Forest fish and lure list
Free Lure
Use the Free Lure for:
- Mackerel
- Gar
- Pike
- Goldfish
Pike and Goldfish can also appear with the Beginner Lure, giving you some flexibility if you're filling missing entries.
Beginner Lure
Use the Beginner Lure for:
- Pike
- Cod
- Goldfish
- Perch
- Triggerfish
Hot Dog
There's one easy-to-miss crossover from the crab equipment:
- Piranha - Crab Fishing Rod + Hot Dog
Don't confuse normal Piranha with the Giant Piranha boss. They occupy separate Collector slots.
Beginner Boss Lure catches
Before leaving the Forest behind, spend some time with the Beginner Boss Lure.
It can produce:
- Sunfish
- The Old Pike
This is a particularly easy place to lose a Collector entry.
Catching The Old Pike does not mean you've finished the Beginner Boss Lure pool. Sunfish is a separate creature and needs its own encyclopedia entry.
Forest story boss: Giant Piranha
The Giant Piranha is not caught using the Beginner Boss Lure.
Island 2's story route begins with a quest involving three Leeches. Completing it eventually provides the special bait needed to trigger the Giant Piranha encounter.
In other words:
Beginner Boss Lure → Sunfish / The Old Pike
Leech quest → Giant Piranha
They're completely separate progression paths.
Island 2 checklist: Piranha, Mackerel, Gar, Pike, Cod, Goldfish, Perch, Triggerfish, Sunfish, The Old Pike, Giant Piranha.
Island 3 / Desert - Standard Lure Fish
The Desert is refreshingly straightforward if you're only interested in normal fish.
Almost the entire regular pool uses one item:
the Standard Lure.
Island 3 contains 11 Collector entries in total.
Standard Lure fish list
Use the Standard Lure to catch:
- Angelfish
- Boxfish
- Catfish
- Sea Urchin
- Seahorse
- Clownfish
- Bluegill
- Salmon
- Needlefish
That's nine creatures from the same normal lure, making the Desert one of the easiest islands to systematically clear.
If your collection is missing several consecutive Island 3 entries, keep using the Standard Lure before spending money experimenting with anything else.
Standard Boss Lure: Blue Shark
The Blue Shark is separate from that regular pool.
For it, you'll need the:
Standard Boss Lure
The Standard Lure and Standard Boss Lure are different items, so throwing more normal Standard Lures into the water won't eventually produce the shark.
The Tourist quest and the Pufferfish
The other special Island 3 creature is the Pufferfish.
This one is tied directly to the Tourist quest.
The Tourist wants a creature carrying the Endangered Species status. Importantly, this isn't necessarily one fixed species: the useful check is the status shown when inspecting the catch. Needlefish can qualify, but the quest isn't simply a "catch a Needlefish" objective.
Once you hand over a valid endangered creature, the Tourist gives you a:
Carrot
And naturally, because How to Fish operates according to flawless marine biology, the Carrot is what you need for the Pufferfish boss.
Island 3 lure cheat sheet
- Standard Lure: nine regular creatures
- Standard Boss Lure: Blue Shark
- Carrot: Pufferfish
That's the entire Desert collection in three lines.
Island 3 checklist: Angelfish, Boxfish, Catfish, Sea Urchin, Seahorse, Clownfish, Bluegill, Salmon, Needlefish, Blue Shark, Pufferfish.
Island 4 / Rocks - Professional Lure Fish
Island 4 is where collection hunting becomes more expensive - and considerably stranger.
The Rocks area has the largest regular lure pool in the game, with ten creatures caught using the Professional Lure before the Tuna and Terrorizing Bird sequence are taken into account.
There are 12 Collector entries here in total.
Professional Lure fish list
Use the Professional Lure for:
- Parrotfish
- Voxelfish
- Bass
- Halibut
- Eel
- Tigerfish
- Flying Fish
- Sengarat
- Red Snapper
- Flounder
Flounder is the one to remember
If you've spent a long time on Island 4 and feel certain you've caught everything, check your Flounder entry.
It's buried inside a large ten-creature Professional Lure pool and is specifically one of the creatures worth rechecking when you're close to completing all 49 entries.
In short, don't stop using the Professional Lure just because you've already seen nine different species.
There are ten.
Professional Boss Lure: Tuna
The Tuna requires a completely separate item:
Professional Boss Lure
And this is one fish you shouldn't immediately turn into cash.
Tuna is effectively a quest trigger for the island's main story encounter. The local NPC tells you that an enormous bird returns when someone brings Tuna, making the fish part of the progression chain rather than ordinary loot.
Albatross / Terrorizing Bird
After catching the Tuna, you use it to bring back the Terrorizing Bird, which occupies the Albatross creature slot in the 49-entry collection.
So the Island 4 progression looks like this:
Professional Boss Lure
→ Catch Tuna
→ Keep the Tuna
→ Trigger the Terrorizing Bird
→ Kill the Albatross
There's also an important progression item after the fight: the NPC needs the Bird's Head before providing the coordinates for the next area.
Selling everything immediately is normally profitable.
Selling a story-critical Tuna before using it is less profitable.
Island 4 checklist: Parrotfish, Voxelfish, Bass, Halibut, Eel, Tigerfish, Flying Fish, Sengarat, Red Snapper, Flounder, Tuna, Albatross.
Island 5 / Volcano - Scientific Lure Fish
The final collection area has a much smaller normal fishing pool, but several of its remaining creatures use completely different methods.
There are eight Collector entries associated with the Volcano area.
Scientific Lure fish list
Use the normal Scientific Lure for:
- Anglerfish
- Blobfish
- Oarfish
- Superdwarf Fish
- Stonefish
That's the complete regular Scientific Lure pool.
Only five fish.
So if all five are filled in your encyclopedia, stop wasting normal Scientific Lures while trying to make the remaining three entries appear.
They won't.
Scientific Boss Lure: Goblin Shark
The Goblin Shark uses the:
Scientific Boss Lure
This is an optional mini-boss catch and is entirely separate from the five regular Scientific Lure fish.
This distinction matters particularly on Island 5:
Scientific Lure ≠ Scientific Boss Lure
If your Goblin Shark slot is empty, switching back to normal Scientific Lures isn't the solution.
Bowhead Whale: Fish Bucket
The Bowhead Whale belongs to the scientist's late-game quest chain.
Instead of a normal lure, you eventually receive the Fish Bucket needed to catch it. The defeated whale itself is then required for the next stage of the experiment, so this is another creature you should absolutely not treat as ordinary inventory.
And that takes us to possibly the least conventional fishing technique in the entire game.
You take the Bowhead Whale to the Volcano.
And throw it in.
Mutated Bowhead Whale
Doing so advances the experiment into the fight against the Mutated Bowhead Whale, the final creature in the 49-entry Collector list.
The full late-game sequence is essentially:
- Talk to the scientist
- Complete the required creature objectives
- Get the Whale bait
- Catch the Bowhead Whale
- Defeat it
- Take the Whale to the Volcano
- Throw it into the Volcano
- Fight the Mutated Bowhead Whale
At this point we've moved fairly far away from the traditional concept of fishing.
Island 5 checklist: Anglerfish, Blobfish, Oarfish, Superdwarf Fish, Stonefish, Goblin Shark, Bowhead Whale, Mutated Bowhead Whale.
How to Fish: All Lures at a Glance
If you only need to know what to equip, here's the condensed version.
Lighthouse
Free Lure
- Rock Crab
- Shrimp
Hot Dog
- Rock Crab
- Lobster
Special
- Clam - pick it up
- Spider Crab - Empty Beer Can
Island 2 / Forest
Free Lure
- Mackerel
- Gar
- Pike
- Goldfish
Beginner Lure
- Pike
- Cod
- Goldfish
- Perch
- Triggerfish
Hot Dog + Crab Fishing Rod
- Piranha
Beginner Boss Lure
- Sunfish
- The Old Pike
Quest
- Giant Piranha - Leech quest / special bait
Island 3 / Desert
Standard Lure
- Angelfish
- Boxfish
- Catfish
- Sea Urchin
- Seahorse
- Clownfish
- Bluegill
- Salmon
- Needlefish
Standard Boss Lure
- Blue Shark
Quest bait
- Pufferfish - Carrot
Island 4 / Rocks
Professional Lure
- Parrotfish
- Voxelfish
- Bass
- Halibut
- Eel
- Tigerfish
- Flying Fish
- Sengarat
- Red Snapper
- Flounder
Professional Boss Lure
- Tuna
Special
- Albatross / Terrorizing Bird - triggered using Tuna
Island 5 / Volcano
Scientific Lure
- Anglerfish
- Blobfish
- Oarfish
- Superdwarf Fish
- Stonefish
Scientific Boss Lure
- Goblin Shark
Special
- Bowhead Whale - Fish Bucket
- Mutated Bowhead Whale - Volcano story sequence
Missing One Fish? Check These First
Being stuck at 48/49 is probably more annoying than fighting the actual bosses.
Before burning through a mountain of expensive lures, check these commonly overlooked creatures:
1. Clam
It isn't a normal fishing catch. Go back to the Lighthouse and check the ground.
2. Blue Crab
Blue Crab has its own encyclopedia slot. Catching Brown Crab and Rock Crab doesn't cover it.
3. Sunfish
The Beginner Boss Lure has more than just The Old Pike in its pool.
4. Flounder
Island 4's Professional Lure has ten regular creatures. Flounder is an easy one to overlook.
5. Goblin Shark
It requires the Scientific Boss Lure, not the regular Scientific Lure.
These are also among the entries highlighted as worth checking when the 49-creature collection is almost complete.
Collector vs Fishipedia: Don't Mix Up Normal and Drip Fish
One final warning for completionists.
Collector and Fishipedia aren't tracking exactly the same thing.
The Collector achievement requires the 49 normal creature entries.
Fishipedia separately tracks the game's Drip creatures. Catching a Drip version doesn't mean the standard version can be ignored, and catching the standard fish doesn't fill its Drip slot either.
You can check your progress from the encyclopedia with Tab.
That means the most efficient completion route is generally:
- Progress through all five islands.
- Unlock the later lure tiers.
- Finish the story-related bosses.
- Open the encyclopedia.
- Return to individual islands only for the missing normal entries.
- Hunt Drip variants separately.
Trying to force a complete collection before unlocking the later areas simply gives you fewer tools and fewer accessible fish pools to work with.
The Simple Rule for Choosing Lures in How to Fish
If you don't want to memorize the entire guide, the basic progression is easy:
Lighthouse: Free Lure / Hot Dog Forest: Beginner Lure Desert: Standard Lure Rocks: Professional Lure Volcano: Scientific Lure
Then remember that each later island adds a separate Boss Lure, while the major story creatures typically need some much stranger quest item.
Empty beer cans.
Modified bait.
Carrots.
Entire tuna.
Fish buckets.
At some point How to Fish stops asking whether you understand fishing and starts asking whether you're willing to accept its definition of it.
For the sake of that final 49/49, the correct answer is yes.