

DragonSword: Awakening Endgame Gear Guide: Stop Wasting Rolls on the Wrong Stats
Flat Armor Penetration is dramatically overrated, Critical Rate is not invalidated by boss Crit Resistance, and your Stat Grinders should never be wasted on temporary gear. Here is how endgame offensive gearing actually works in DragonSword: Awakening.

DragonSword: Awakening has only been out for a short time, and its gearing meta is still being figured out. That has created a predictable problem: a lot of early guides repeat stat recommendations without explaining how valuable those stats actually are once you start fighting the game's hardest bosses.
That matters because DragonSword: Awakening gives players several offensive stats that sound similar but behave very differently.
The most important example is Armor Penetration versus Defense Ignore.
They are not interchangeable.
Player testing and the game's displayed stat values indicate that Armor Penetration is a flat numerical reduction, while Defense Ignore is percentage-based. The precise enemy-defense formula has not been publicly documented by Hound13, and even current Steam discussions acknowledge that some details are still being tested.
For players trying to optimize five-star endgame gear, however, the practical difference is enormous.
Flat Armor Penetration Is a Trap
Let's start with one of the biggest mistakes players make when evaluating offensive substats.
Flat Armor Penetration is extremely weak.
In high-level testing, a typical single Armor Penetration substat can translate to roughly 0.1% additional damage in the situations where endgame optimization actually matters.
Not 1%.
Approximately 0.1%.
The exact gain naturally varies according to the target's defense and your other stats, but the important point remains: the numbers offered by flat Armor Penetration are simply too small to compete with the game's stronger multiplicative or percentage-based offensive options.
That should not be confused with Defense Ignore.
Defense Ignore is percentage-based and scales far more effectively against enemies with meaningful defense. It is one of the strongest generic offensive substats available and, for conventional DPS gearing, should usually be the first line you are looking for.
This distinction also explains some of the conflicting information circulating in early DragonSword: Awakening guides. Several guides correctly identify Defense Ignore as desirable, but often rank it below Crit Damage or Attack Power without distinguishing it clearly from flat Armor Penetration.
For endgame optimization, that distinction cannot be ignored.
Armor Penetration: flat value, very low priority.
Defense Ignore: percentage-based, extremely high priority.
They may sound similar. Their practical value is not.
Boss Crit Resistance Does Not Make Crit Bad
Another increasingly common claim is that Critical Rate becomes poor in the endgame because high-level bosses possess Critical Resistance.
That conclusion is also misleading.
There is strong player evidence that enemies can reduce effective Critical Rate. Players with tooltip values above 100% have reported continuing to see non-critical hits, and community testing has pushed Critical Rate far beyond 100% while investigating exactly how the system behaves. The precise resistance or cap formula remains undocumented.
But Crit Resistance does not mean you should abandon Critical Rate.
It means you should build enough Critical Rate to compensate for it.
Endgame characters can realistically reach 100%+ Critical Rate while simultaneously pushing 200%+ Critical Damage. Against the game's hardest bosses, that makes critical hits an enormous component of overall damage rather than a stat you can simply replace with Attack Power.
The correct conclusion is therefore not:
Bosses have Crit Resistance, so build Attack instead.
The correct conclusion is:
Bosses have Crit Resistance, so your effective Crit requirement extends beyond the nominal 100% mark.
There is still little reason to push Critical Rate to absurd values such as 180%, 200% or higher at the expense of every other offensive stat. Once you have enough to make your crit consistency reliable against the content you are targeting, additional investment is better spent elsewhere.
That is where Attack Power Up enters the equation.
The Endgame Main-Stat Priority
For a typical damage dealer, your offensive gearing should be built around three stats.
1. Critical Rate - Reach 100%+
Your first job is getting Critical Rate into a reliable endgame range.
Aim for at least 100%, with some room above that to compensate for enemy Crit Resistance. Do not blindly chase 200%.
Remember that Critical Rate comes from more than gear main stats.
Titles contribute Crit. A strong Critical Rate substat can provide around 21 points, and the corresponding Rune can contribute another 20.
That means many characters need far fewer Critical Rate main-stat pieces than players initially expect.
Depending on the hero and the rest of your build, zero or one Critical Rate main-stat gear piece can be enough.
2. Critical Damage - Push Toward 200%+
Once Critical Rate is stable, Critical Damage becomes the next major target.
A practical endgame goal is approximately 200% or more, depending on the character and available gear.
Again, do not evaluate your armor in isolation. Runes contribute here as well, with high-end Critical Damage Rune values reaching roughly 22.5.
Because different equipment slots provide different quantities of their selected main stat, you should also think carefully about where your strongest offensive stats are placed.
Current gearing guides confirm that chest and leg pieces provide particularly large main-stat values, making them prime candidates for major offensive stats such as Critical Damage or Attack Power.
3. Attack Power Up % - Fill the Remaining Slots
After securing sufficient Critical Rate and Critical Damage, use your remaining offensive main-stat slots for Attack Power Up %.
This is where the balance matters.
Attack Power should not replace Crit entirely. Crit should not consume every available main-stat slot either.
You want both systems multiplying a sufficiently strong underlying attack value.
What That Looks Like on Actual Gear
For many endgame DPS characters, a practical five-piece distribution ends up looking approximately like this:
| Main Stat | Typical Pieces |
|---|---|
| Critical Rate | 0-1 |
| Critical Damage | 2-3 |
| Attack Power Up % | 2-3 |
This is a framework, not a universal template.
DragonSword: Awakening gives different main-stat quantities depending on the equipment slot, and characters also receive different amounts of Crit or Attack from titles, runes, passives and other sources.
The goal is therefore not to equip exactly “one Crit Rate, two Crit Damage and two Attack” on every hero.
The goal is to reach the target totals efficiently.
If your character already reaches the required Critical Rate through substats, a title and a Rune, using another Crit Rate main-stat piece can become wasteful. Replace it with Critical Damage or Attack Power Up instead.
Likewise, a character sitting far below the necessary Critical Rate should fix that problem before blindly stacking more Attack.
Optimize the final stat sheet, not the number of pieces carrying a particular label.

Best Offensive Substats in DragonSword: Awakening
Once your main stats are established, the real grind begins: substats.
For a conventional endgame damage build, use the following priority:
1. Defense Ignore
This is the premium offensive roll. Percentage-based Defense Ignore scales far better against serious enemies than flat Armor Penetration and should generally be the first substat you preserve.
2. Attack Power Up
Reliable damage that improves the foundation upon which your other offensive modifiers operate.
3. Critical Damage
Extremely valuable once your Critical Rate is high enough for critical hits to occur consistently.
4. Critical Rate
Still excellent until you reach your desired endgame Crit threshold. Once adequately capped for the content you are fighting, additional rolls naturally lose value.
5. Filler
At this point the differences become much less important. Flat generic Attack or HP% are reasonable consolation rolls depending on the character.
The key point is that flat Armor Penetration should not jump ahead of these stats simply because it sounds like Defense Ignore.
It is not Defense Ignore.
Do Not Reroll Non-Five-Star Gear
This may be the single most important resource-management rule in the entire guide:
Do not seriously reroll stats on gear below five stars.
DragonSword: Awakening's Reforging system allows players to reroll undesirable secondary stats once gear reaches the appropriate upgrade state. Desired lines can also be locked, although locking additional lines increases the cost.
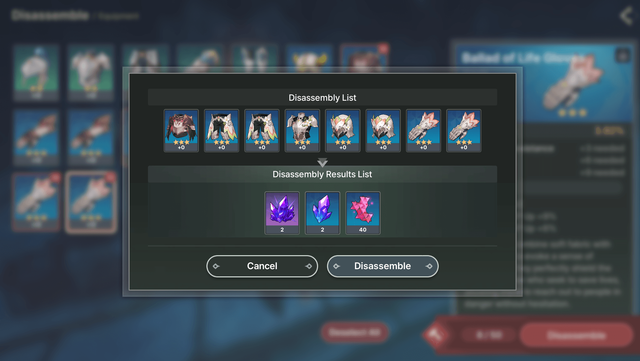
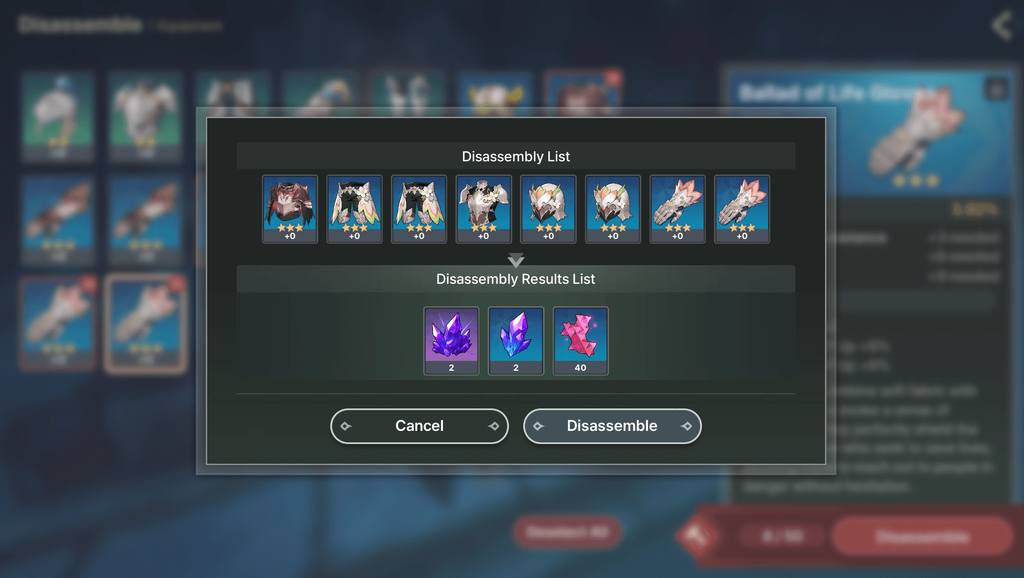
The problem is that rerolling consumes a limited material called the Stat Grinder, in addition to gold.
A Stat Grinder currently costs 25 Adventurer's Emblem medals through the Exchange. Every failed attempt means another Grinder and more gold spent chasing RNG.
That makes rerolling temporary three-star or four-star equipment a terrible long-term trade.
You are spending one of the resources required to optimize your eventual endgame equipment on an item you already know you will replace.
Five-star gear can be obtained early enough that there is little justification for aggressively perfecting lower-rarity pieces. Community players have specifically highlighted obtaining five-star equipment as an early progression priority, including through the Exchange and higher-level content.
Upgrade temporary equipment enough to progress.
Use it.
Replace it.
But save your Stat Grinders for five-star gear.
Once you have the correct five-star piece, correct set and correct main stat, then start spending reroll materials chasing Defense Ignore, Attack Power Up and strong Crit rolls.
That is equipment you can actually keep.
Build the Right Item Before Trying to Perfect It
DragonSword: Awakening's gearing system rewards patience.
Before touching the Reforge button, ask four questions:
- Is this five-star gear?
- Is it from the set I actually intend to use?
- Does it have the correct main stat?
- Is this likely to remain equipped in my endgame build?
If the answer to any of those is no, save the Stat Grinder.
The game already gives players meaningful control over crafting. At the Blacksmith, main stats can be selected when forging appropriate equipment rather than leaving the entire item to chance, and the game's set system encourages combining a three-piece bonus with a separate two-piece bonus instead of blindly equipping five pieces from one set.
Use that control first.
RNG optimization comes afterward.
TLDR:
Flat Armor Penetration is weak. Defense Ignore is not.
Treat Defense Ignore as your premier general-purpose DPS substat.
Build enough Critical Rate to exceed 100%, because high-level enemies can interfere with your effective Crit rate, but do not sacrifice the entire build trying to reach ridiculous numbers.
Push Critical Damage toward 200%+, then use Attack Power Up % to round out the build.
For most DPS characters, that means roughly 0-1 Critical Rate pieces, 2-3 Critical Damage pieces and 2-3 Attack Power Up pieces, adjusted according to the hero, slot values, titles, substats and Runes.
For substats, prioritize:
Defense Ignore > Attack Power Up > Critical Damage > Critical Rate > everything else.
And above all:
Stop spending Stat Grinders on non-five-star gear.
A perfect four-star roll is still a four-star item you are going to replace.
Save the materials, build the right five-star equipment first, and spend your rerolls where they can actually become part of your final DragonSword: Awakening build.