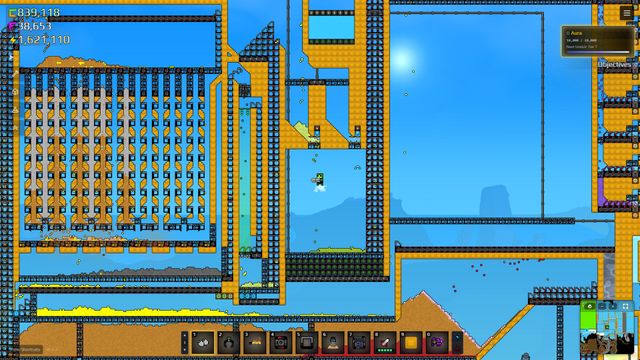

Source note: The gameplay information and tips in this guide are based on material provided directly by Sandustry publisher Hooded Horse in the game’s Steam Guides section. The material has been reorganized and rewritten here to provide a clear, beginner-friendly reference. You can find the original here: https://steamcommunity.com/sharedfiles/filedetails/?id=3781669041
Sandustry drops you onto a vast, largely unexplored planet filled with distinctive biomes, unusual wildlife, ancient ruins, and abundant natural resources. Your mission begins modestly - with little more than sand and the possibility of finding gold - but soon develops into a sprawling industrial operation.
Success depends on more than simply building machines. You will need to design reliable transport networks, refine resources through several states of matter, unlock new technology, and decide which opportunities deserve your attention. You can pursue advanced logistics, recruit local creatures into your production systems, or invest valuable resources in uncovering the powers of ancient artifacts.
This guide explains the game’s principal systems and offers practical advice for establishing an efficient factory.
Understanding the Main Interface
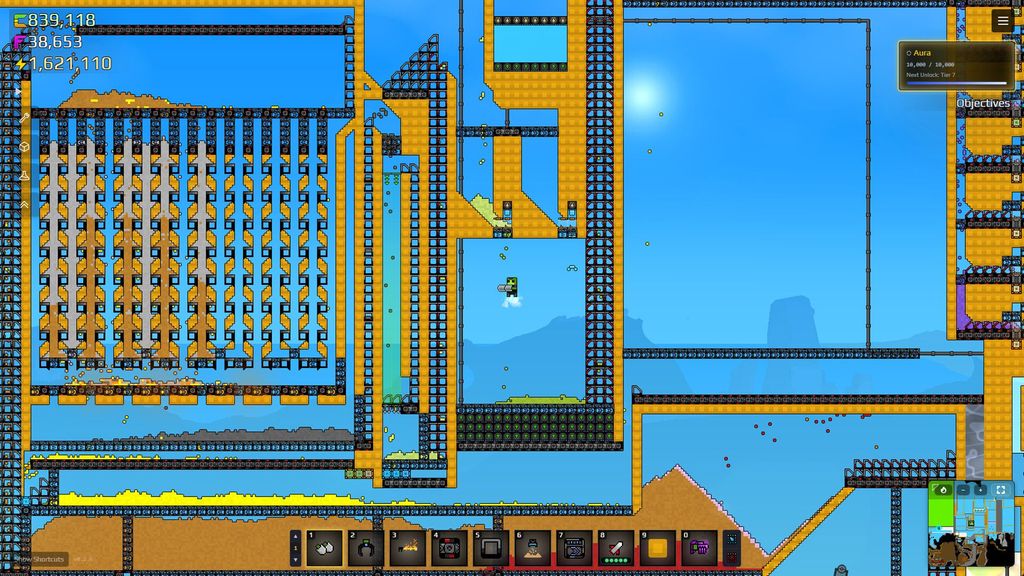
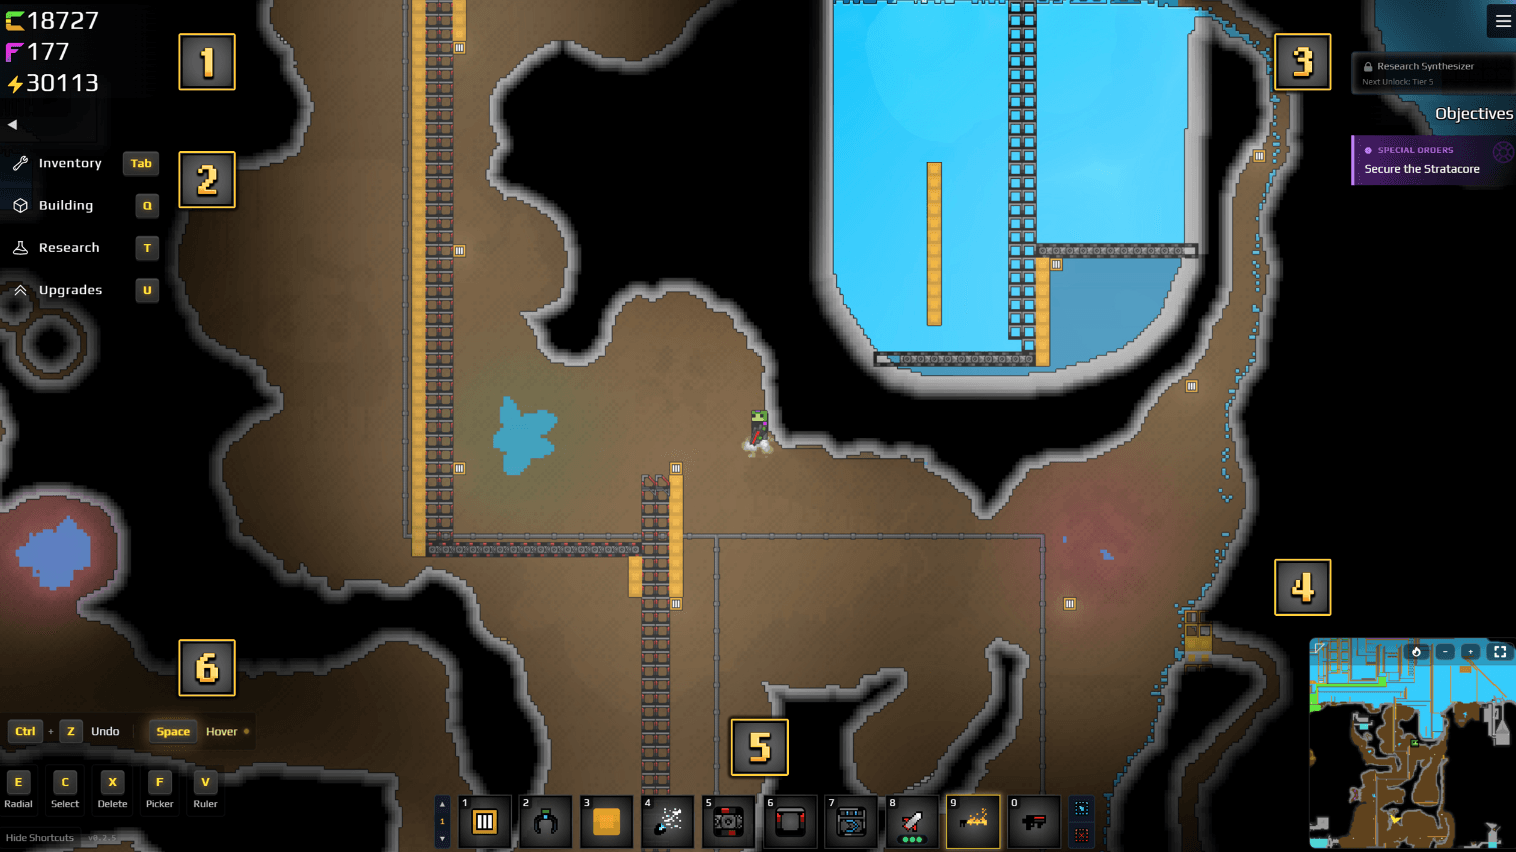
Several important tools and information panels remain available throughout the game.
 Source: Sandustry Steam Guide by it's Publisher Hooded Horse. (Link)
- Currencies
- Tab Reference for Shortcut access
- Objectives
- Minimap
- Hotbar
- Shortcuts
Currencies
Sandustry uses three principal resources for progression:
- Gold unlocks new research and is produced by refining certain resources.
- Fluxite unlocks upgrades for items in your inventory. It can be discovered naturally or manufactured later.
- Energy powers advanced structures and becomes increasingly important as your factory develops.
Because these resources serve different purposes, producing more Gold will not replace your need for Fluxite or Energy. A well-developed factory must eventually support all three.
Objectives and the Minimap
Your current objectives appear on the interface, while a corresponding yellow arrow on the minimap points you toward the relevant location. The minimap also reveals a wider area than the main screen, making it useful for navigating terrain and planning expansion.
Tabs and Shortcuts
The interface displays the key bindings used to open the game’s different information tabs. It also provides shortcuts for frequently used construction actions, including copying, pasting, selecting, moving, and replacing structures.
Learning these shortcuts early can make large construction projects considerably faster.
Hotbars
You have access to ten hotbars, each containing ten slots for inventory items and buildings.
To switch directly to another hotbar, press:
Alt + hotbar number
You can also hold Alt and use the mouse wheel to scroll between hotbars. Organizing related structures onto separate hotbars - such as logistics, refining, and utilities - can make factory construction much more manageable.
Logistics and Resource Transportation
 Source: Sandustry Steam Guide by it's Publisher Hooded Horse. (Link)
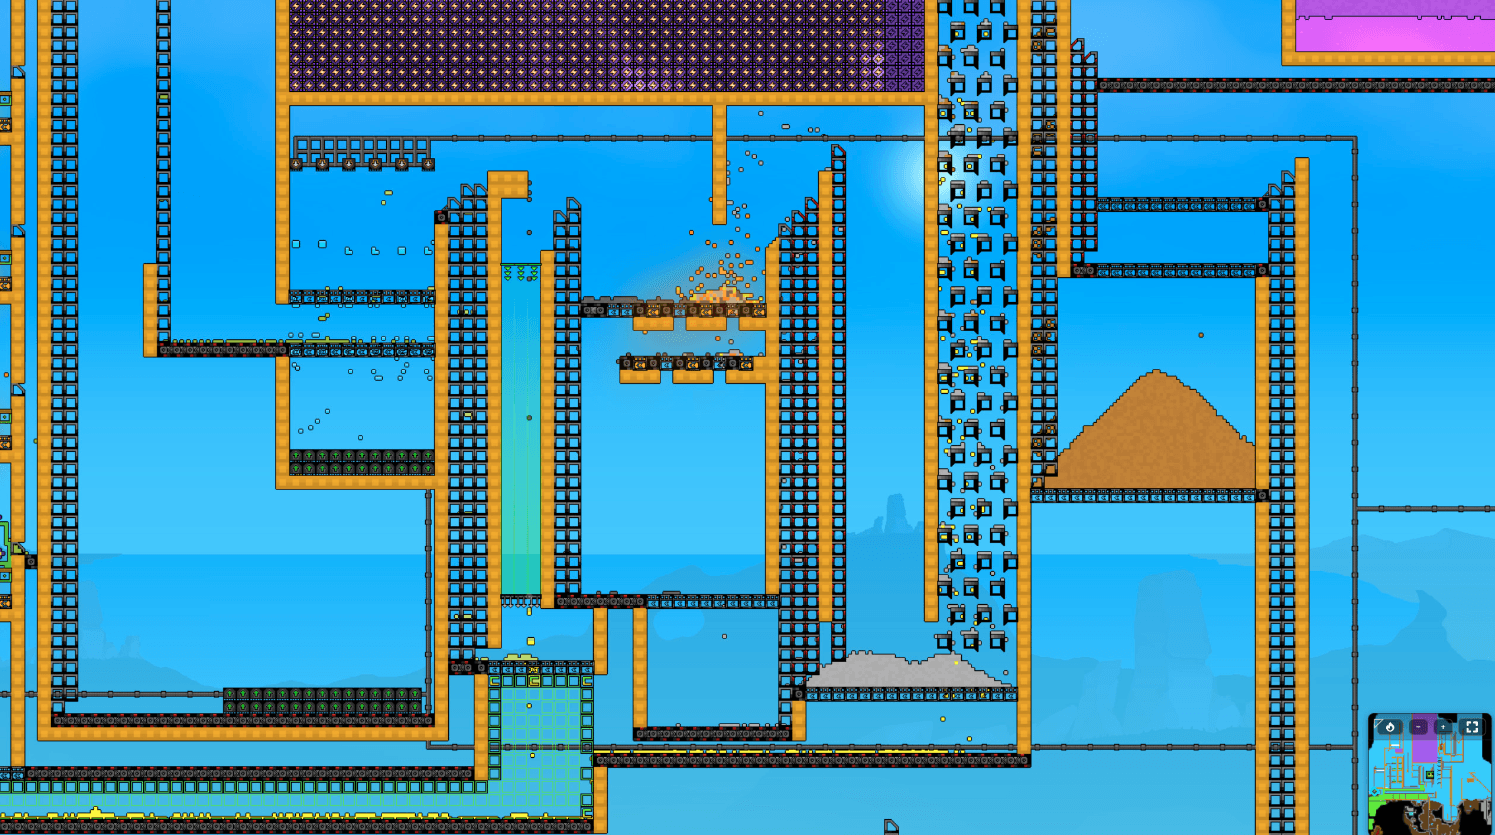
Moving materials efficiently is one of the central challenges in Sandustry. A resource may need to travel through several refining stages before it becomes useful, and poorly designed routes can quickly turn a productive factory into a congested pile of mixed materials.
The game’s core logistics structures require no power. Once constructed, they continue operating whether or not resources are currently present.
Conveyor Belts and Launchers
 Source: Sandustry Steam Guide by it's Publisher Hooded Horse. (Link)
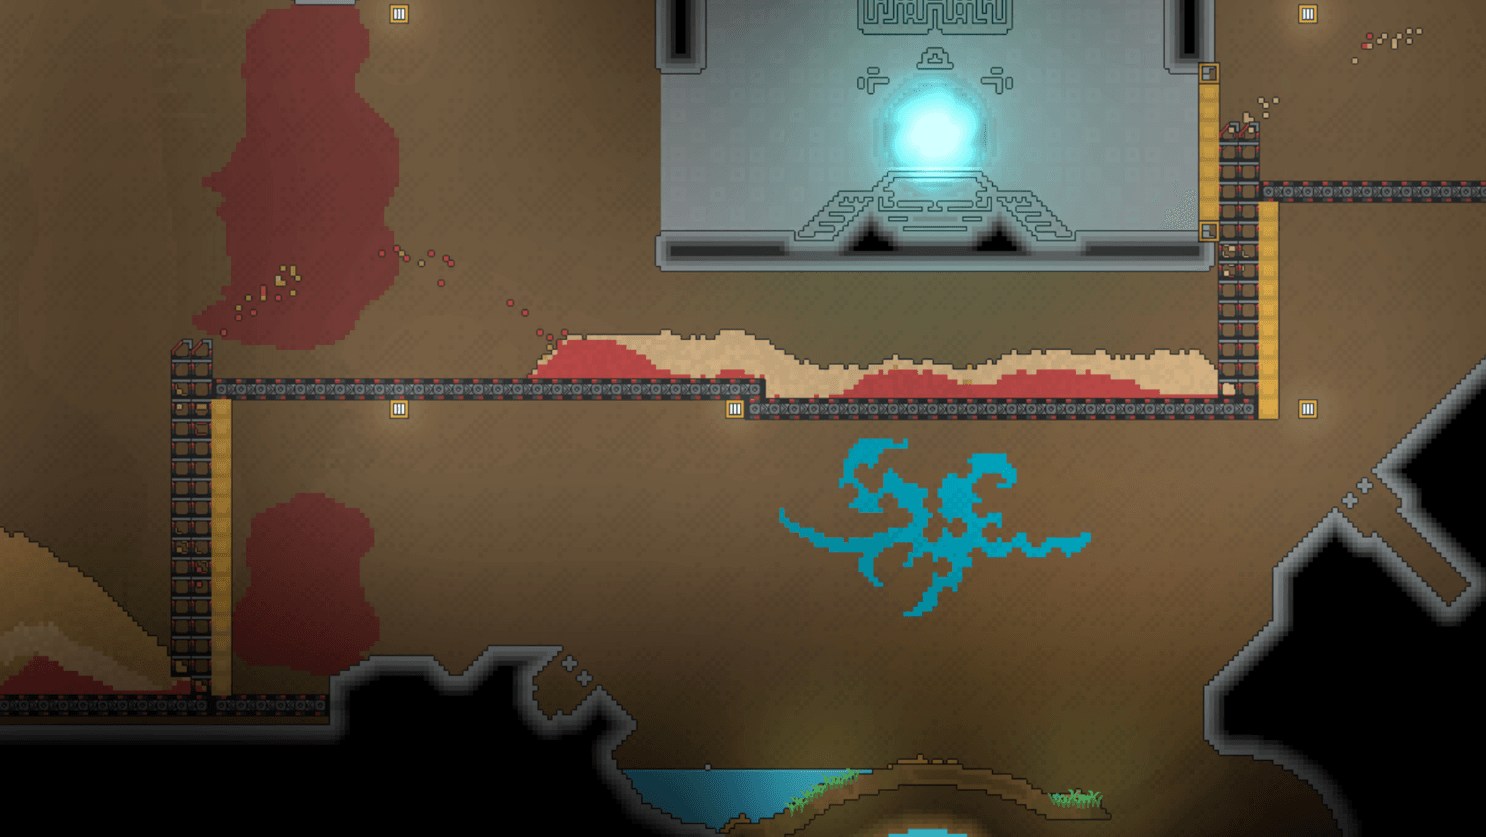
Conveyor Belts and Launchers are the primary tools for transporting solid resources, including Sand, Residue, Cinder, Seeds, and Amethelis.
Conveyor Belts
Conveyor Belts move materials horizontally. Their direction is determined by the direction in which you drag while placing them.
They are ideal for predictable production lines operating across relatively level terrain.
Launchers
Launchers transport solid materials vertically or diagonally. The highest point of the launcher shaft is where the transported resource will be released. Your drag direction determines whether that material is thrown to the left or right.
Launchers are particularly useful when your factory occupies several elevations or when terrain makes a conventional conveyor route impractical.
Mark 2 Logistics
More advanced versions of both structures become available through research. Mark 2 Conveyor Belts move resources substantially faster, while Mark 2 Launchers throw them with greater velocity.
You do not necessarily need to rebuild an otherwise successful factory when these become available. The replace function can upgrade existing logistics while preserving the basic layout.
How Filters Work
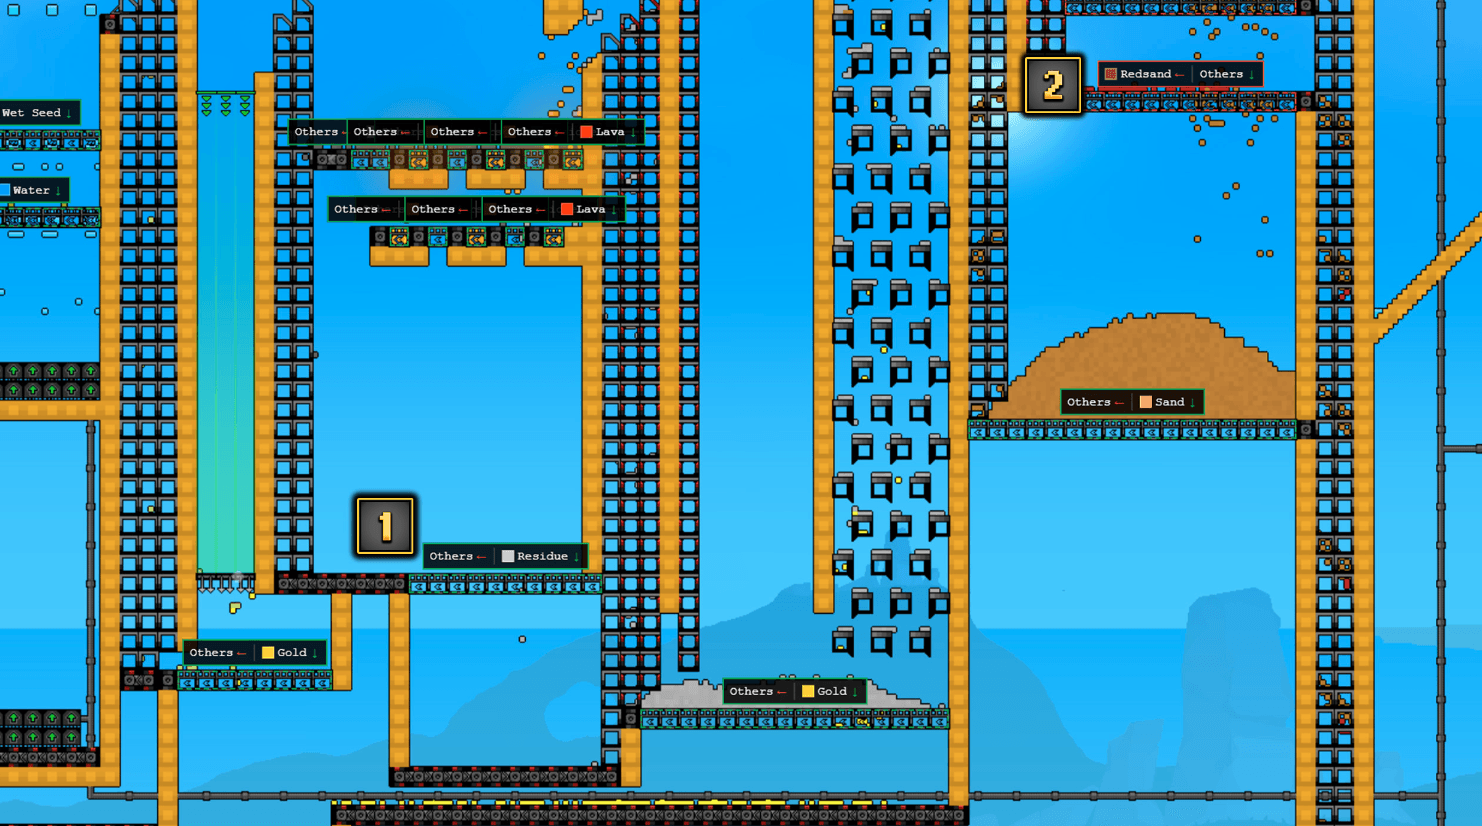
Filters allow you to separate solid materials from a mixed pile. Basic Filters offer two operating modes:
- Allow: Only the selected resource passes through.
- Block: Every resource except the selected one passes through.
 Source: Sandustry Steam Guide by it's Publisher Hooded Horse. (Link)
For example, an Allow filter set to Gold permits Gold to fall through while sending everything else onward. A Block filter set to Redsand prevents Redsand from passing while allowing all other materials through.
Basic Filters can recognize only one solid resource at a time. If you need to extract several materials from the same line, arrange multiple filters in sequence. One filter might block Moonhop so Redsand can continue, while another filter farther down the line blocks Redsand.
Once unlocked, Advanced Filters can handle solid, liquid, and gaseous resources. They retain the same Allow and Block logic and still operate on one selected resource at a time.
Transporting Liquids
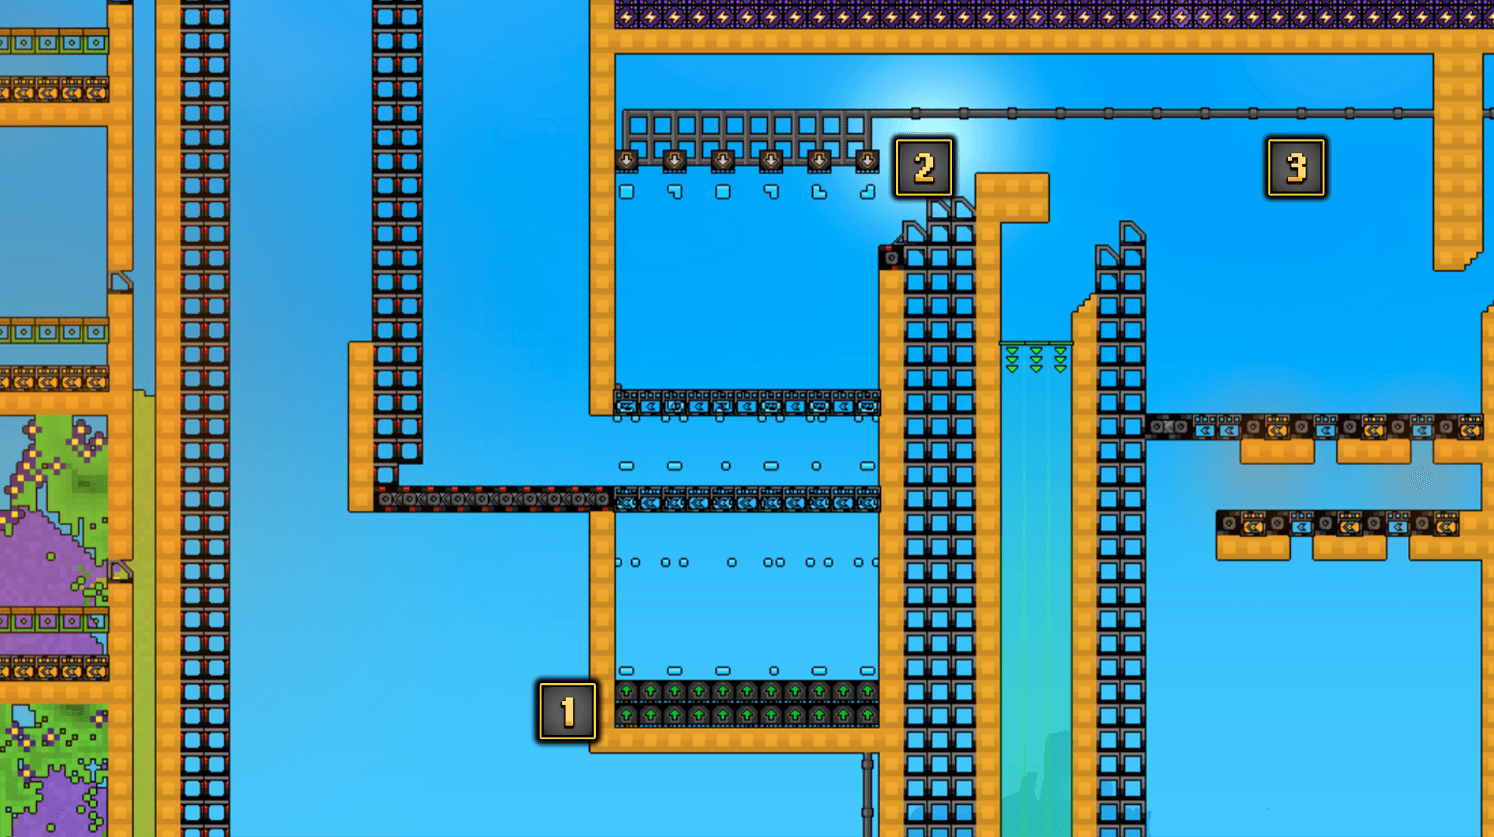
Most fluids - excluding molten materials - can be transported through a simple three-part system:
- A Pump draws in the fluid.
- Pipes carry it to its destination.
- A Liquid Vent releases it.
 Source: Sandustry Steam Guide by it's Publisher Hooded Horse. (Link)
Pumping continues while fluid is present at or above the Pump’s level and the fluid has not risen to the height of the Liquid Vent.
A single pipeline can carry more than one kind of fluid, but this is rarely ideal. Liquid Vents cannot filter their output and will prioritize whichever liquid is closest. Separate pipelines are therefore the safer choice whenever several liquids are involved.
Production and Refining
 Source: Sandustry Steam Guide by it's Publisher Hooded Horse. (Link)
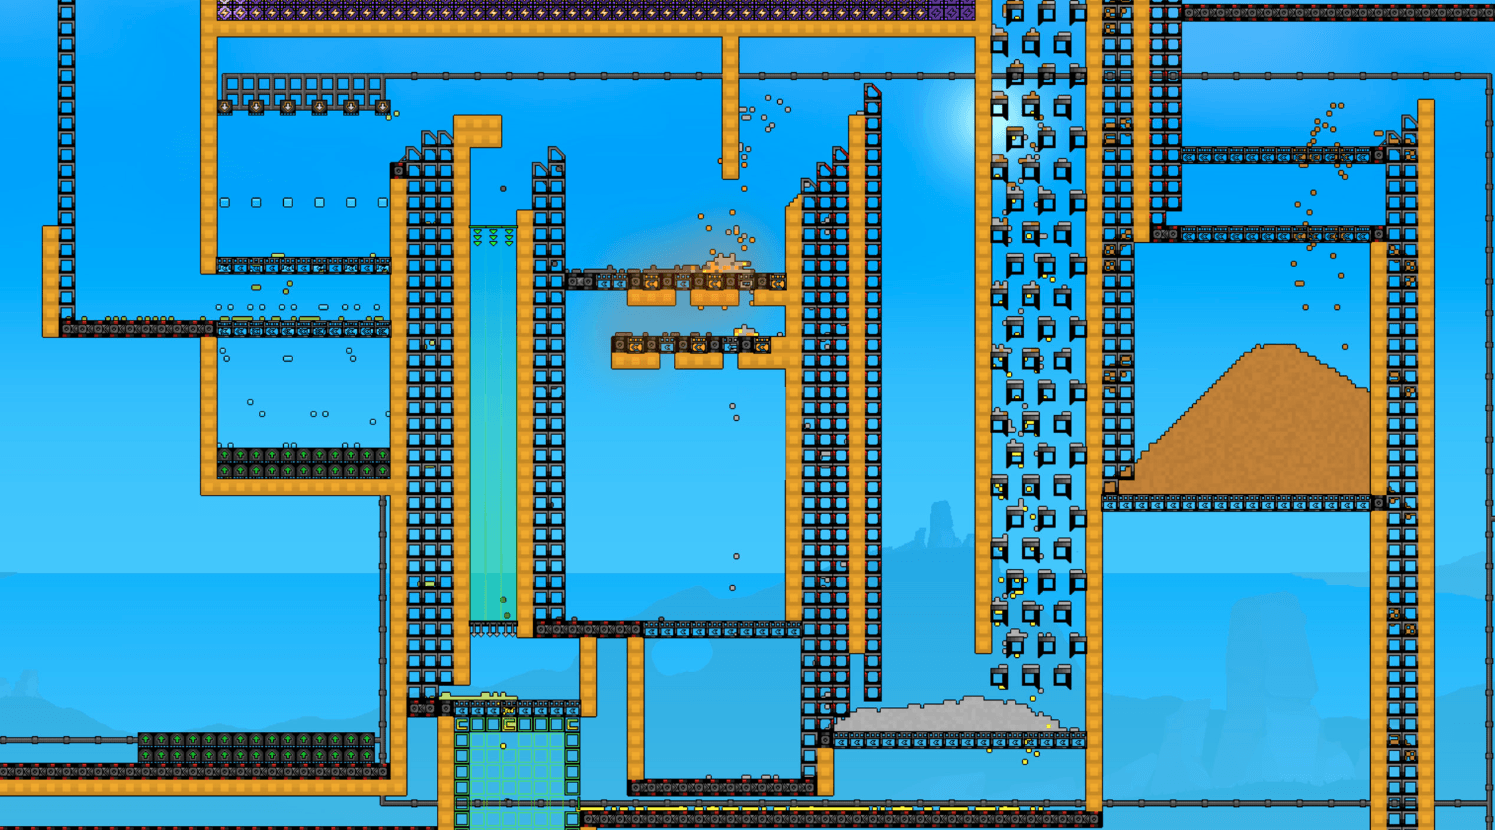
As your operation expands, raw resources will no longer be sufficient. Advanced production depends on processing materials through multiple stages, frequently generating both a desired product and a useful by-product.
One of the most valuable early improvements is the Material Scanner upgrade for the Grabber. With it, you can hover over a resource to discover how that material can be refined or used in another process. This removes much of the guesswork from unfamiliar production chains.
Producing Gold
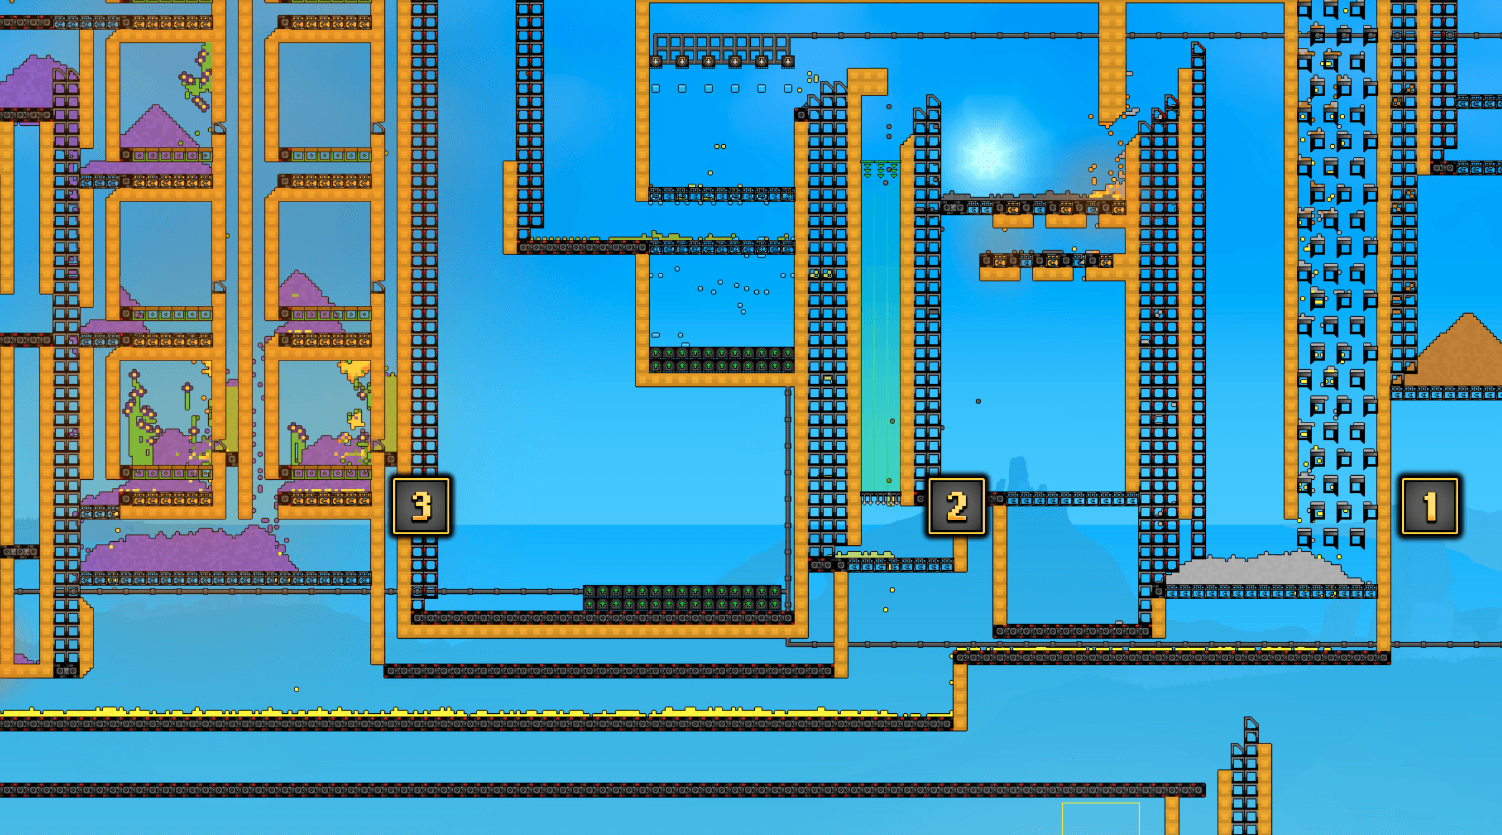
Gold is required for all research. Three structures form the foundation of Gold production:
- Shaker
- Kinetic Press
- Planter Box
 Source: Sandustry Steam Guide by it's Publisher Hooded Horse. (Link)
These structures also generate by-products that support subsequent production methods. Avoid treating every secondary output as waste: it may be essential to the next stage of your factory.
Heat, Cold, and States of Matter
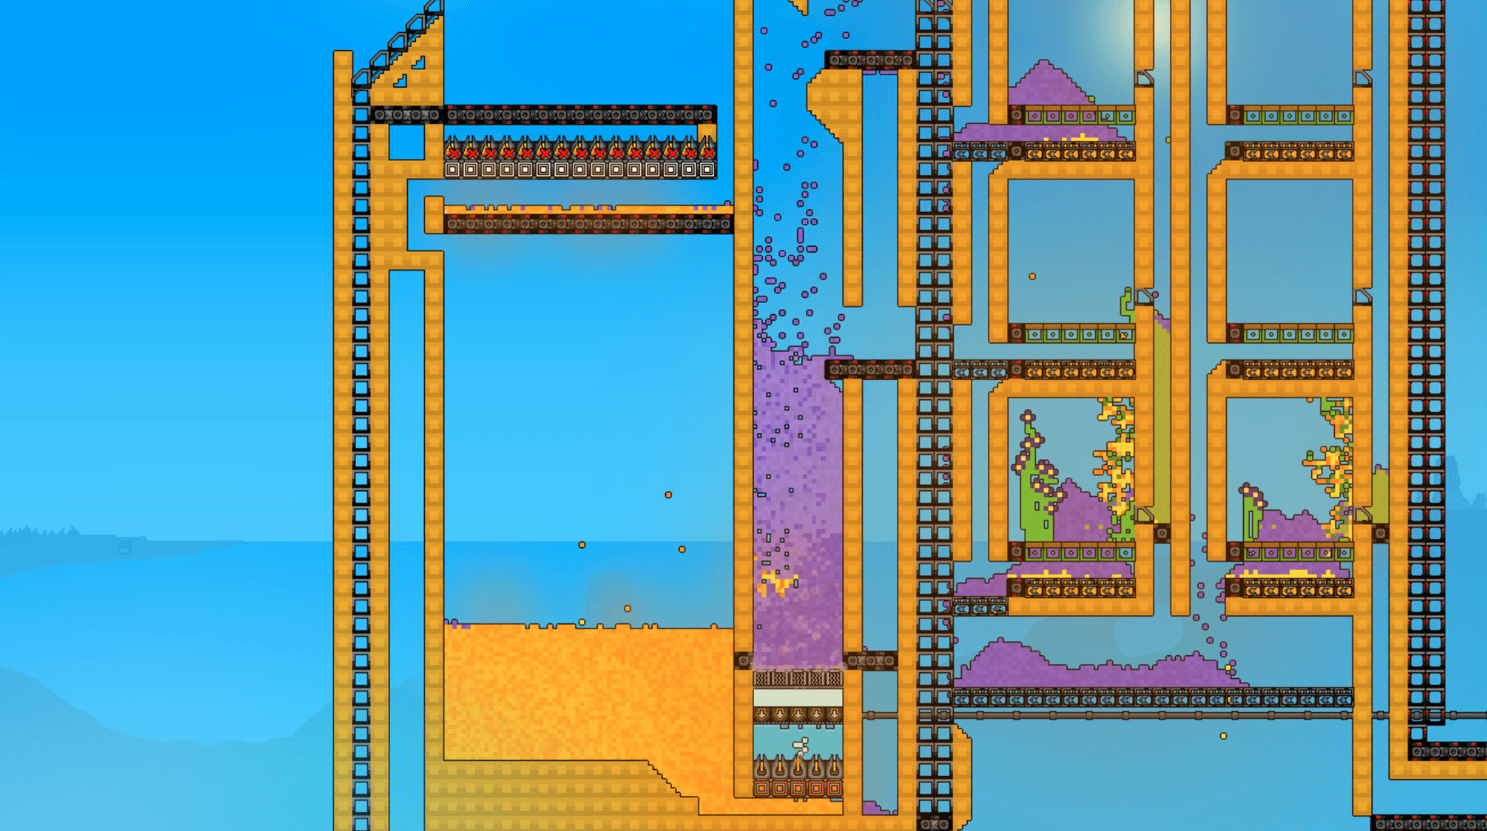
Thermal structures transform resources by changing their physical state.
 Source: Sandustry Steam Guide by it's Publisher Hooded Horse. (Link)
| Thermal process | Possible conversions |
|---|---|
| Heat | Solid → Liquid → Gas |
| Cold | Gas → Liquid → Solid |
A heating structure can convert a solid into a liquid or a liquid into a gas. Cooling structures perform the same transformations in reverse.
This system is important for more than production. Changing a resource’s state can also make it easier to transport. If a material is difficult to move through part of your factory, consider converting it into another form, transporting it, and converting it back closer to its destination.
Research, Factory Levels, and Progression
Although they are closely related, Research, Upgrades, and Augments are separate progression systems.
Research
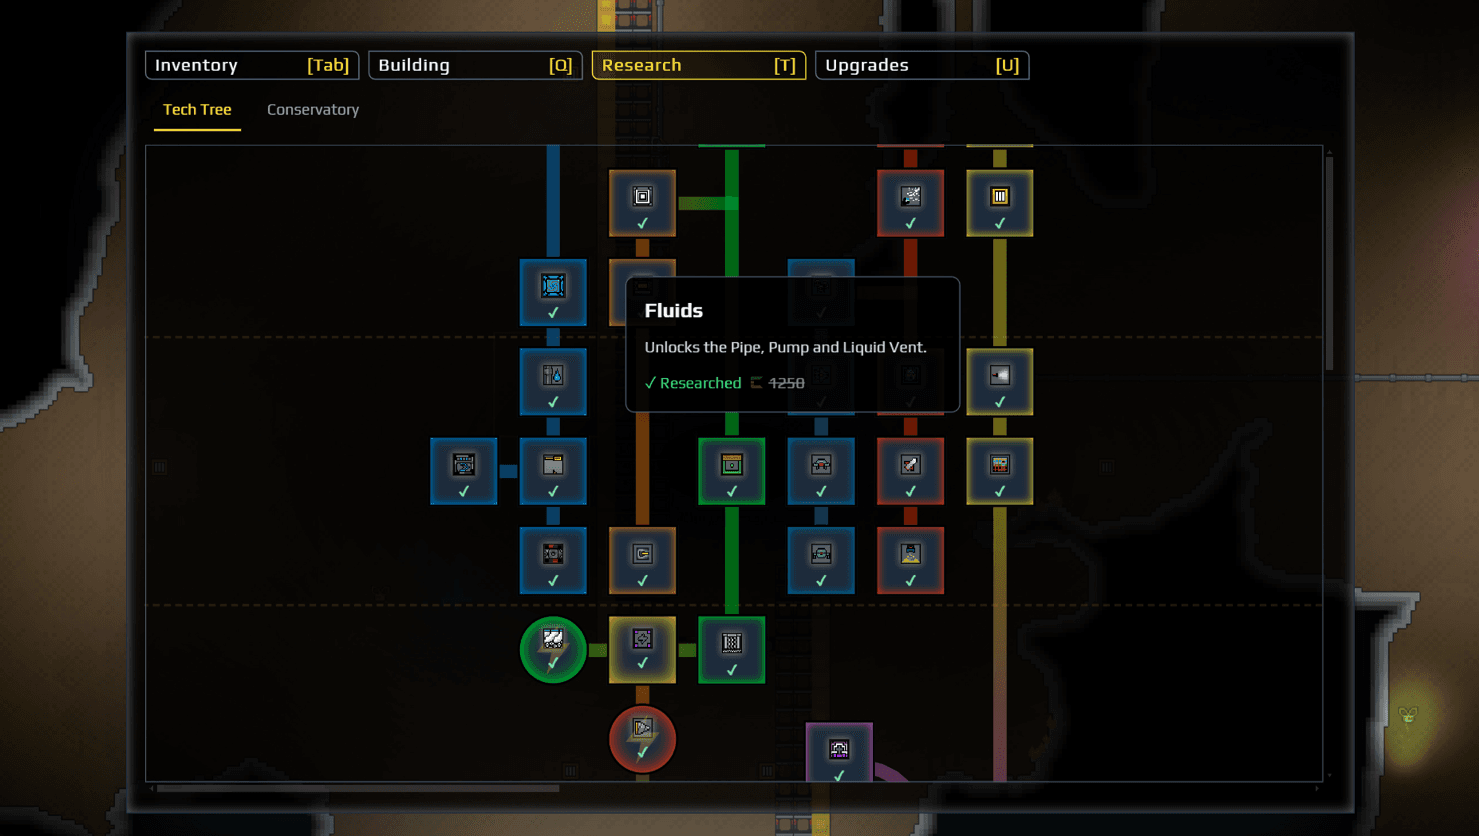
Research costs Gold and unlocks new structures and inventory items. Advanced research also requires a sufficiently high Factory Level.
 Source: Sandustry Steam Guide by it's Publisher Hooded Horse. (Link)
Your Factory Level represents the technological access granted by your superiors. It rises as you reach performance milestones and demonstrate mastery of the systems already available to you. The planet’s unusual resources and ancient ruins also contribute to the growing interest in your operation.
Upgrades
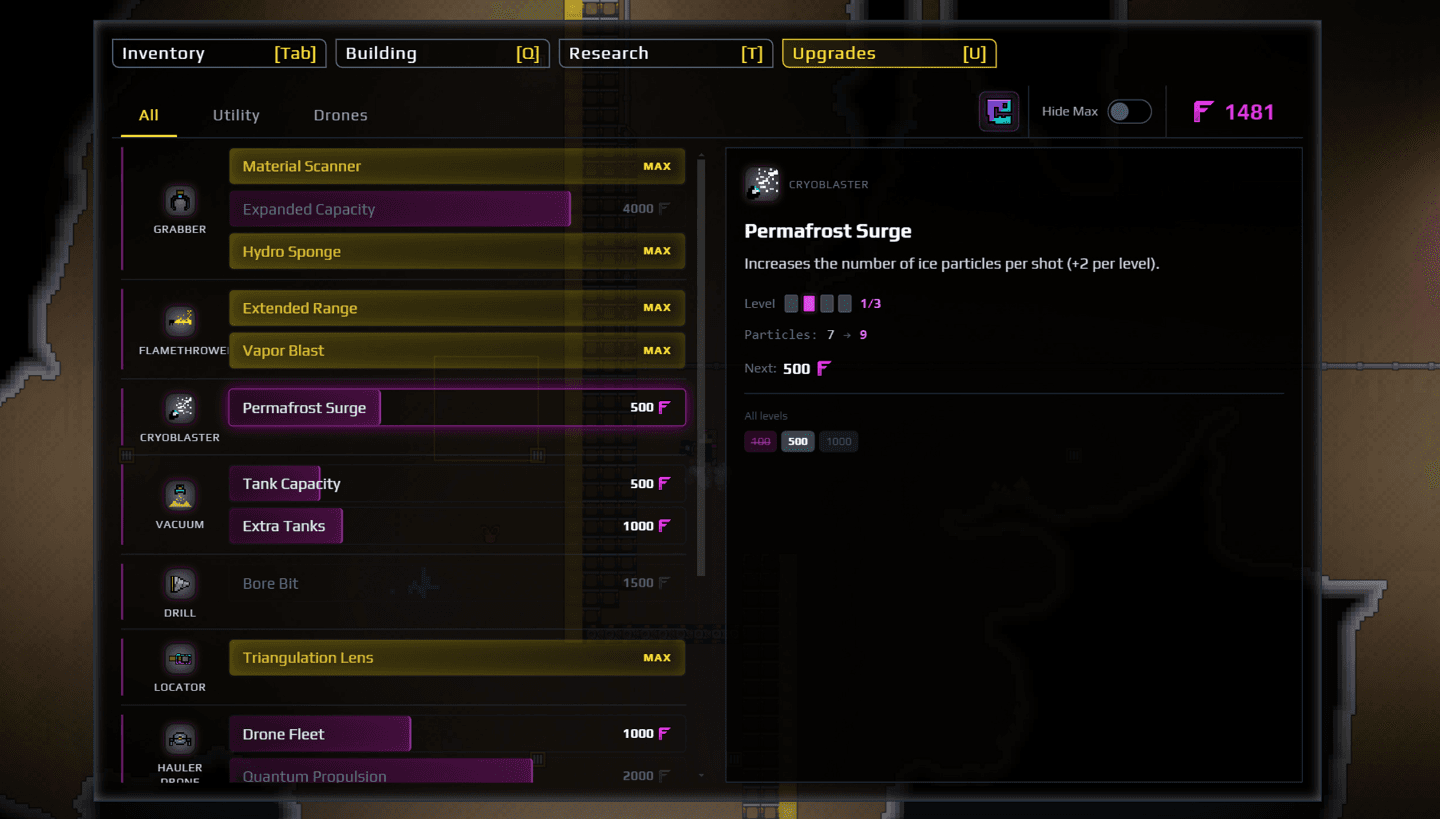
Upgrades improve inventory equipment such as:
- The Grabber
- The Flamethrower
- Drones
 Source: Sandustry Steam Guide by it's Publisher Hooded Horse. (Link)
These upgrades cost Fluxite. Because the Grabber determines how easily you can move materials manually, increasing its capacity and capabilities is one of the strongest early investments.
Augments
 Source: Sandustry Steam Guide by it's Publisher Hooded Horse. (Link)
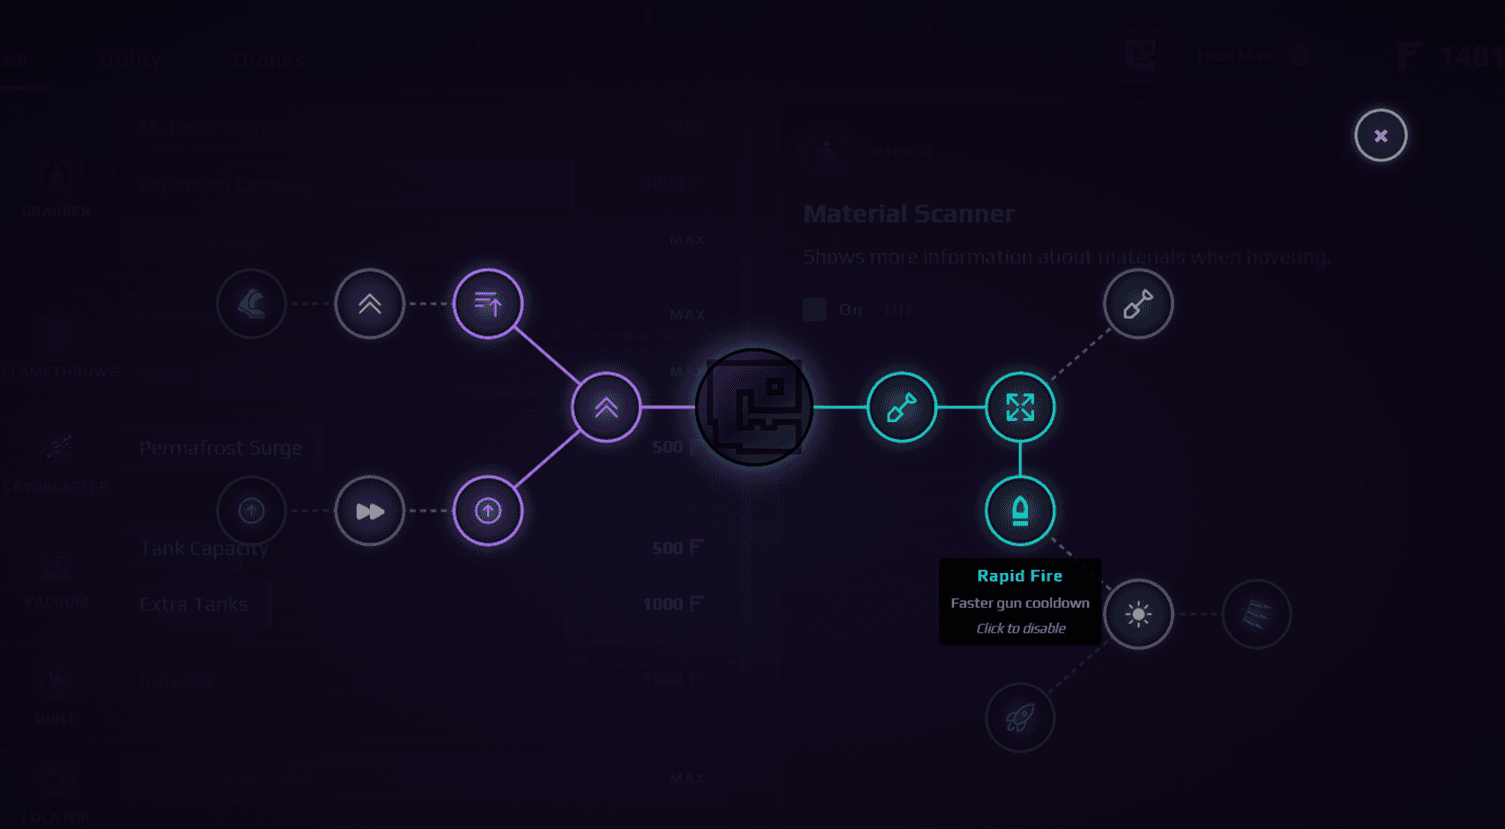
Artifacts hidden around the planet grant Augments. These may enhance utility equipment such as the Gun, Rocket, or Shovel, or provide personal improvements such as faster movement and a longer or more powerful boost.
Artifact hunting can therefore produce substantial benefits, but it also competes with factory construction for time and resources.
Creatures as Production Assets
The planet’s wildlife can become part of your industrial operation. Creatures captured with the Corraller may introduce new resources or production processes when properly contained and managed.
Lumlings provide one useful example: gathering enough of them in one place can create a small but steady water supply.
Capturing unfamiliar creatures is generally worthwhile, even if their industrial purpose is not immediately obvious.
Essential Building Shortcuts
A few controls can save a considerable amount of construction time.
Copying and Pasting Structures
Press C while pointing at a structure to select that type. You can then use:
- Ctrl + C to copy
- Ctrl + V to paste
This is particularly useful when repeating production modules or constructing several identical sections of a logistics network.
Replacing Existing Structures
The default replace hotkey is Ctrl. It allows you to exchange structures without completely dismantling a working layout.
This becomes especially valuable after unlocking improved Conveyor Belts or Launchers. If the arrangement already works, you can replace its slower components instead of rebuilding the entire system.
Practical Factory-Building Advice
Several habits will make your industrial operation easier to manage.
Keep Fluid Networks Separate
Although pipes can contain several liquids, Liquid Vents cannot sort them reliably. Dedicated lines prevent the wrong liquid from reaching a machine or storage area.
Preserve Useful By-Products
Before discarding a secondary output, check whether it is needed elsewhere. Many production chains are designed around passing one process’s by-product into the next.
Use Filters on Congested Lines
When you need to isolate a by-product from a busy production route, filter blocks are among the most useful tools available. A sequence of filters can turn one mixed line into several organized outputs.
Adapt to the Terrain
Ancient ruins are not merely obstacles or puzzle locations. Some have already been excavated and shaped into spaces that can support useful factory layouts. With a little creativity, existing architecture can become part of your industrial design.
Return to Difficult Puzzles Later
Some ancient puzzles require tools or resources you may not possess when you first discover them. If progress seems impossible, mark the location and return after unlocking more equipment.
Freezing or otherwise creating a solid bridge can help with teleporter gaps. If you become trapped inside a puzzle, use the Unstuck command in the pause menu.
Choosing the Right Tool for an Obstacle
Raw destructive power is not always the most important factor. Different weapons are better suited to different materials.
A Rocket Launcher may deliver greater explosive force, but a Flamethrower is more effective against solid ice stalactites. The Laser, meanwhile, consumes a great deal of power during sustained use but can tunnel through most obstacles found in the planet’s surface layers.
Matching the tool to the material will usually save both time and resources.
Process Spoilers
The following sections reveal specific production solutions. Skip them if you prefer to discover these processes independently.
How to Move Lava
Molten fluids cannot be transported through an ordinary liquid pipeline. Instead, lava must be converted into a solid material before it can be moved:
- Discover a source of lava.
- Freeze it, most likely using the Cryo Gun.
- The frozen lava becomes Scoria.
- Mine the Scoria using the Shovel or another suitable tool.
- Once dislodged, it becomes transportable Cinder.
- Move the Cinder to its intended destination.
- Expose it to a sufficiently hot source, such as the Flamethrower.
- The Cinder converts back into lava.
This process demonstrates one of Sandustry’s most important principles: when a resource cannot be transported in its current state, transform it.
How to Produce Energy with a Florinol Battery
Florinol Batteries and Power Bricks are distinct energy sources. Florinol Batteries use processed Amethelis, while Power Bricks are made from copper molds filled with liquid copper.
To fuel a Florinol Battery, follow this production chain:
Amethelis → Steam treatment → Dry Amethelis → Heat → Florin gas → Cold → Florinol liquid → Florinol Battery
In practical terms:
- Use Steam to produce Dry Amethelis.
- Heat the Dry Amethelis until it becomes Florin gas.
- Cool the Florin gas to condense it into Florinol liquid.
- Transfer the Florinol into a Florinol Battery.
This chain requires both heating and cooling, making it a useful test of your ability to coordinate several refining stages.
Final Beginner Priorities
When establishing a new factory, focus on the following goals:
- Build a dependable Gold-production chain to support Research.
- Upgrade the Grabber early to improve manual material handling.
- Keep liquids on separate pipelines whenever possible.
- Use filters to control mixed resources and by-products.
- Learn the copy, paste, and replace controls.
- Preserve by-products until you understand their uses.
- Capture newly discovered creatures with the Corraller.
- Treat changes of state as both production and transportation tools.
- Revisit ruins and puzzles after obtaining additional equipment.
- Prepare for Energy production before advanced structures make it essential.
The most effective factories in Sandustry are not necessarily the largest. They are the ones that move resources deliberately, make productive use of by-products, and remain adaptable as new technologies become available. Master those principles, and your modest prospecting camp will soon become a powerful planetary industry.